Making a Commision - Part 8 - Bolsters
As far as design goes, I like simple looks, even though that does not always mean simple construction. Designs where nothing is visible but the wood of the handle and the steel of the blade do have a certain "something", in my opinion. However, these knives do require bolsters between the blade and the handle.
For some knife designs the bolster degenerated into a purely ornamental piece. Its most nonsensical incarnation is an integrated steel bolster which serves no function and in my opinion, just adds useless weight. In these knives, however, bolsters do have a function – to spread the force of the blade across the wood grain of the handle in order to prevent its splitting. I mainly use a non-metal bolster, horn, bone, and coconut shells for kitchen knives. For this batch, I have decided to use buffalo horn.
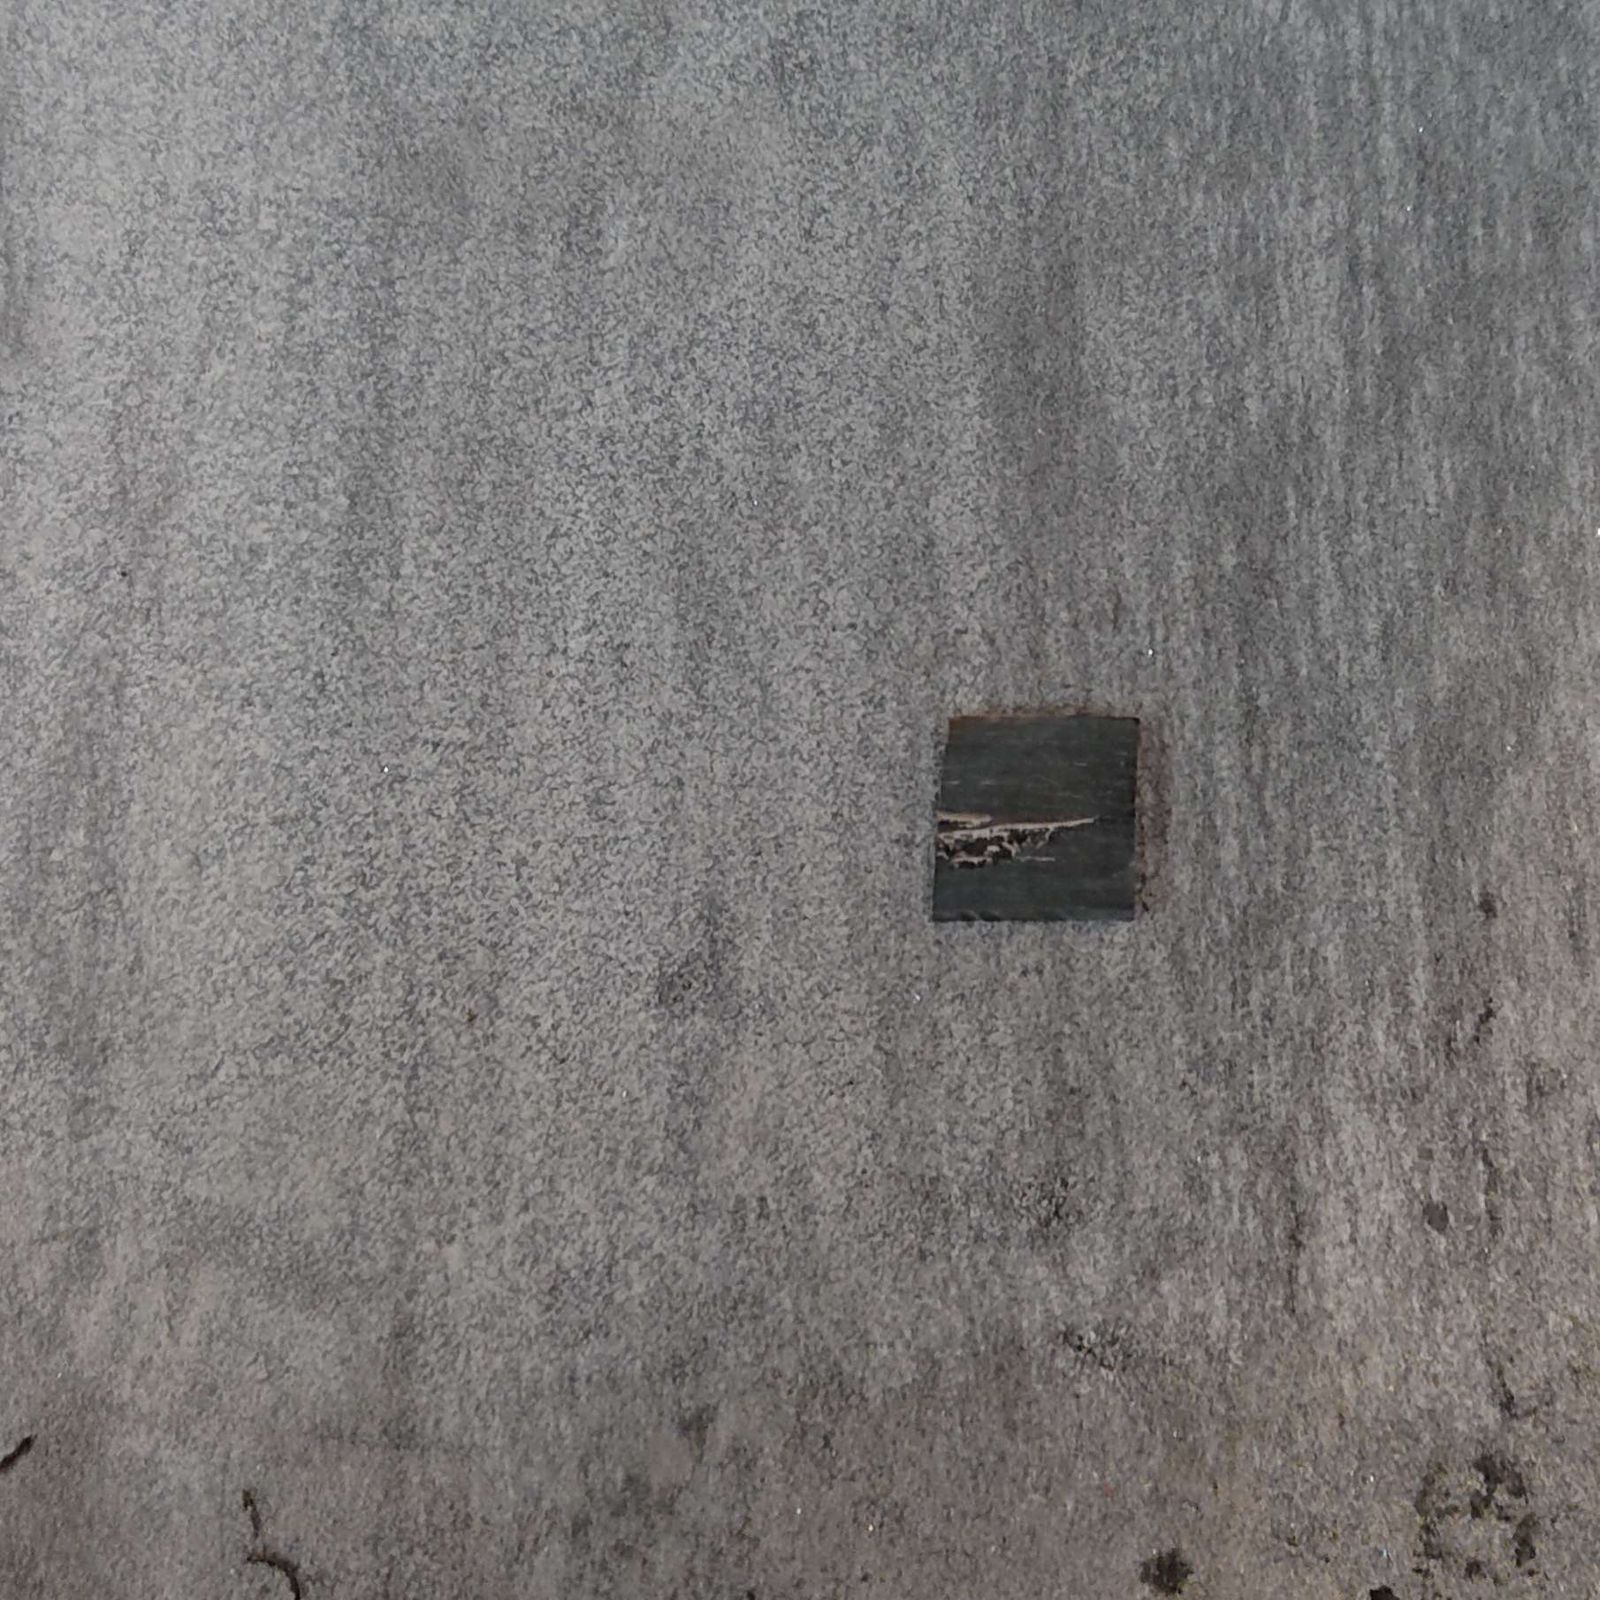
The beginning is to cut a rectangle out of a buffalo horn, slightly bigger than the desired bolster size, and flatten them. To get truly flat surfaces I am using abrasive paper glued to a granite tile.
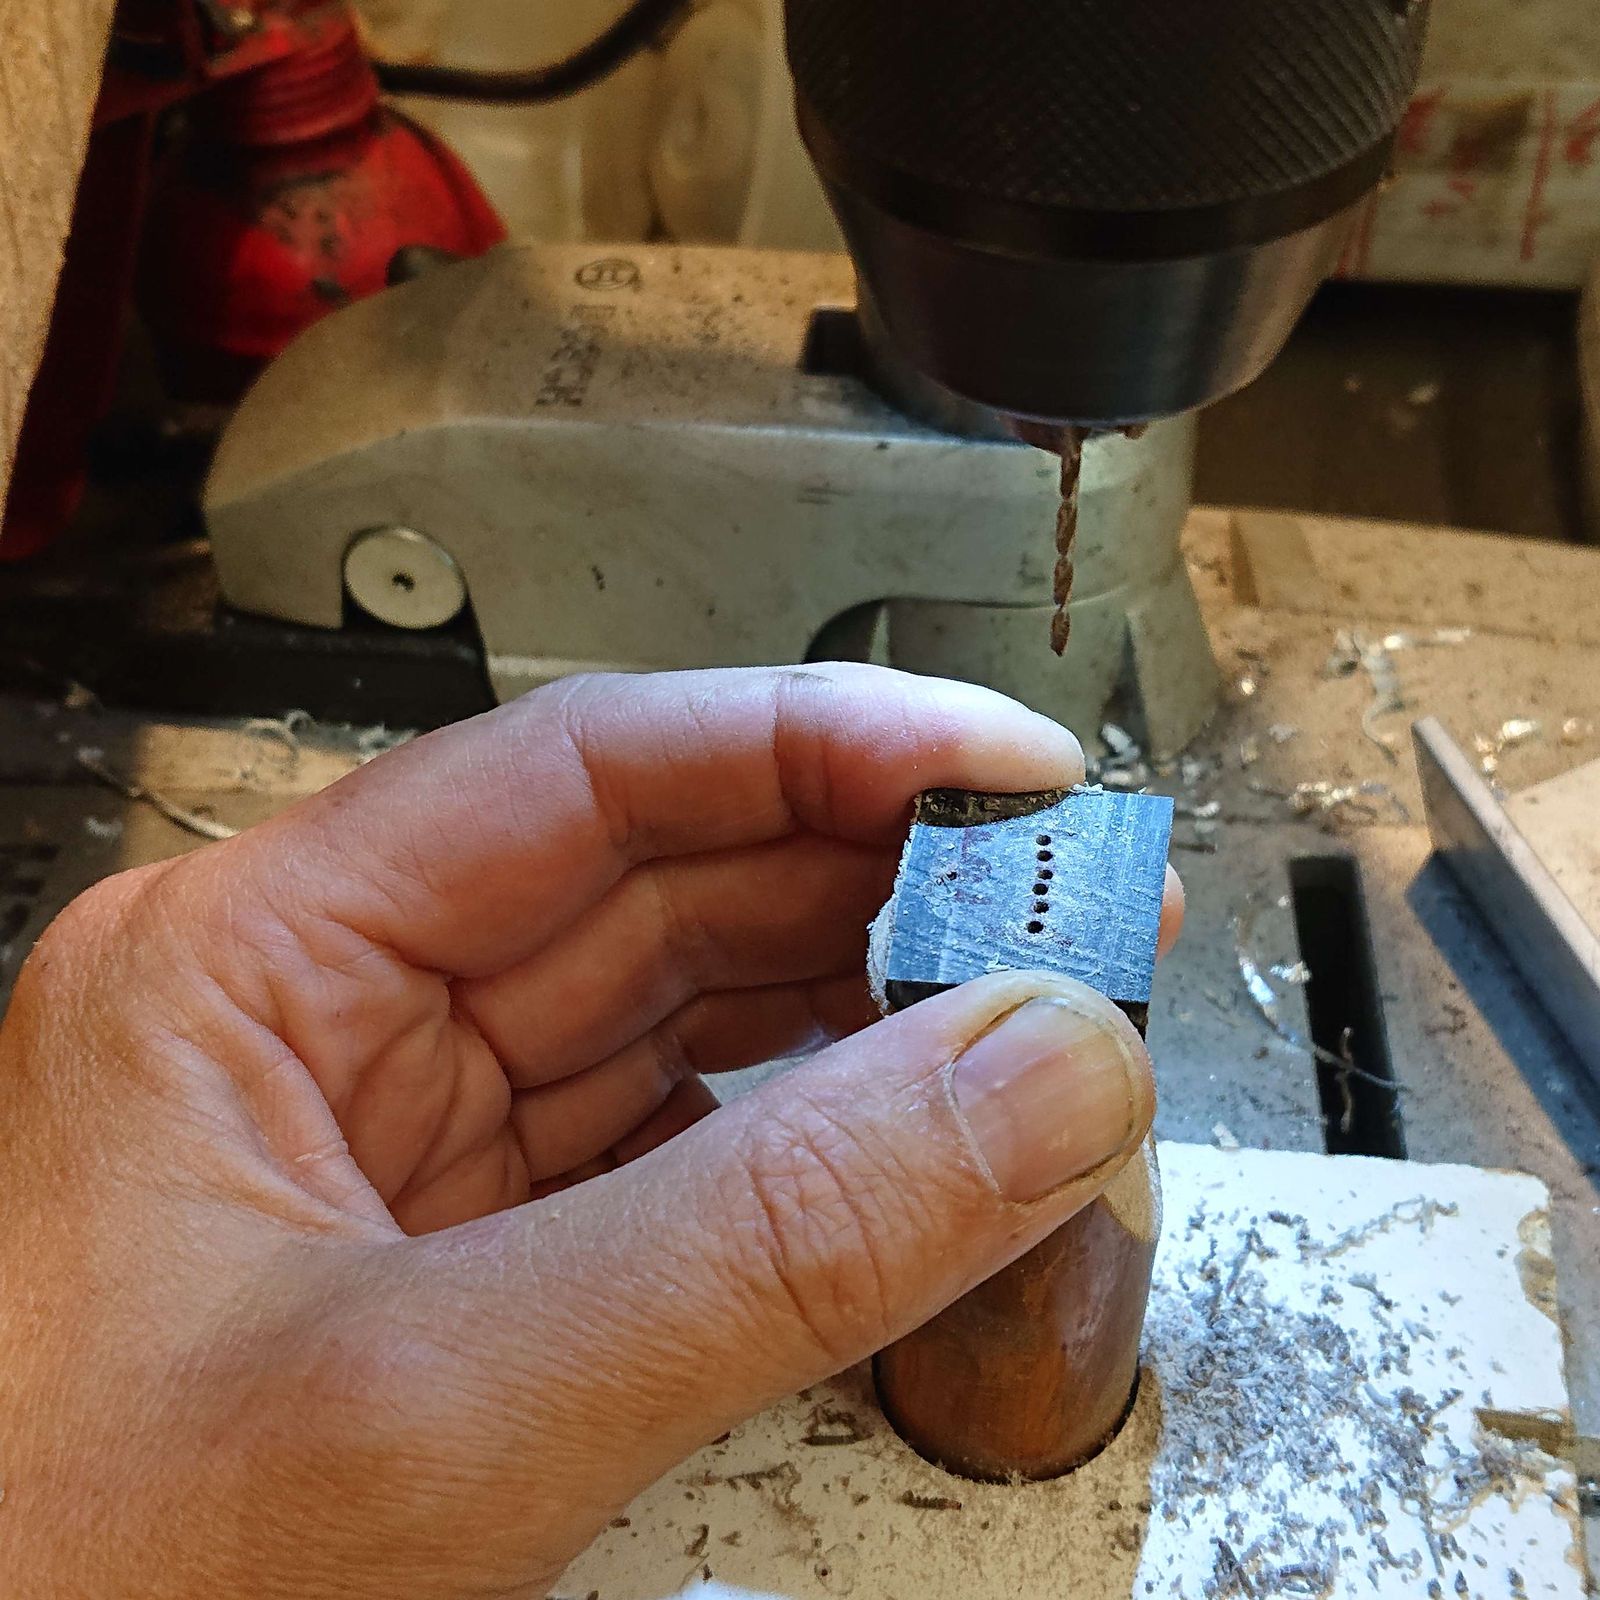
After marking the approximate dimensions of the required hole for the tang I drill a series of 1,5 mm holes. I remove the material between these holes with a coping saw and then I fine-tune it with small files so that it is possible to insert the tang the whole length with minimal gaps.
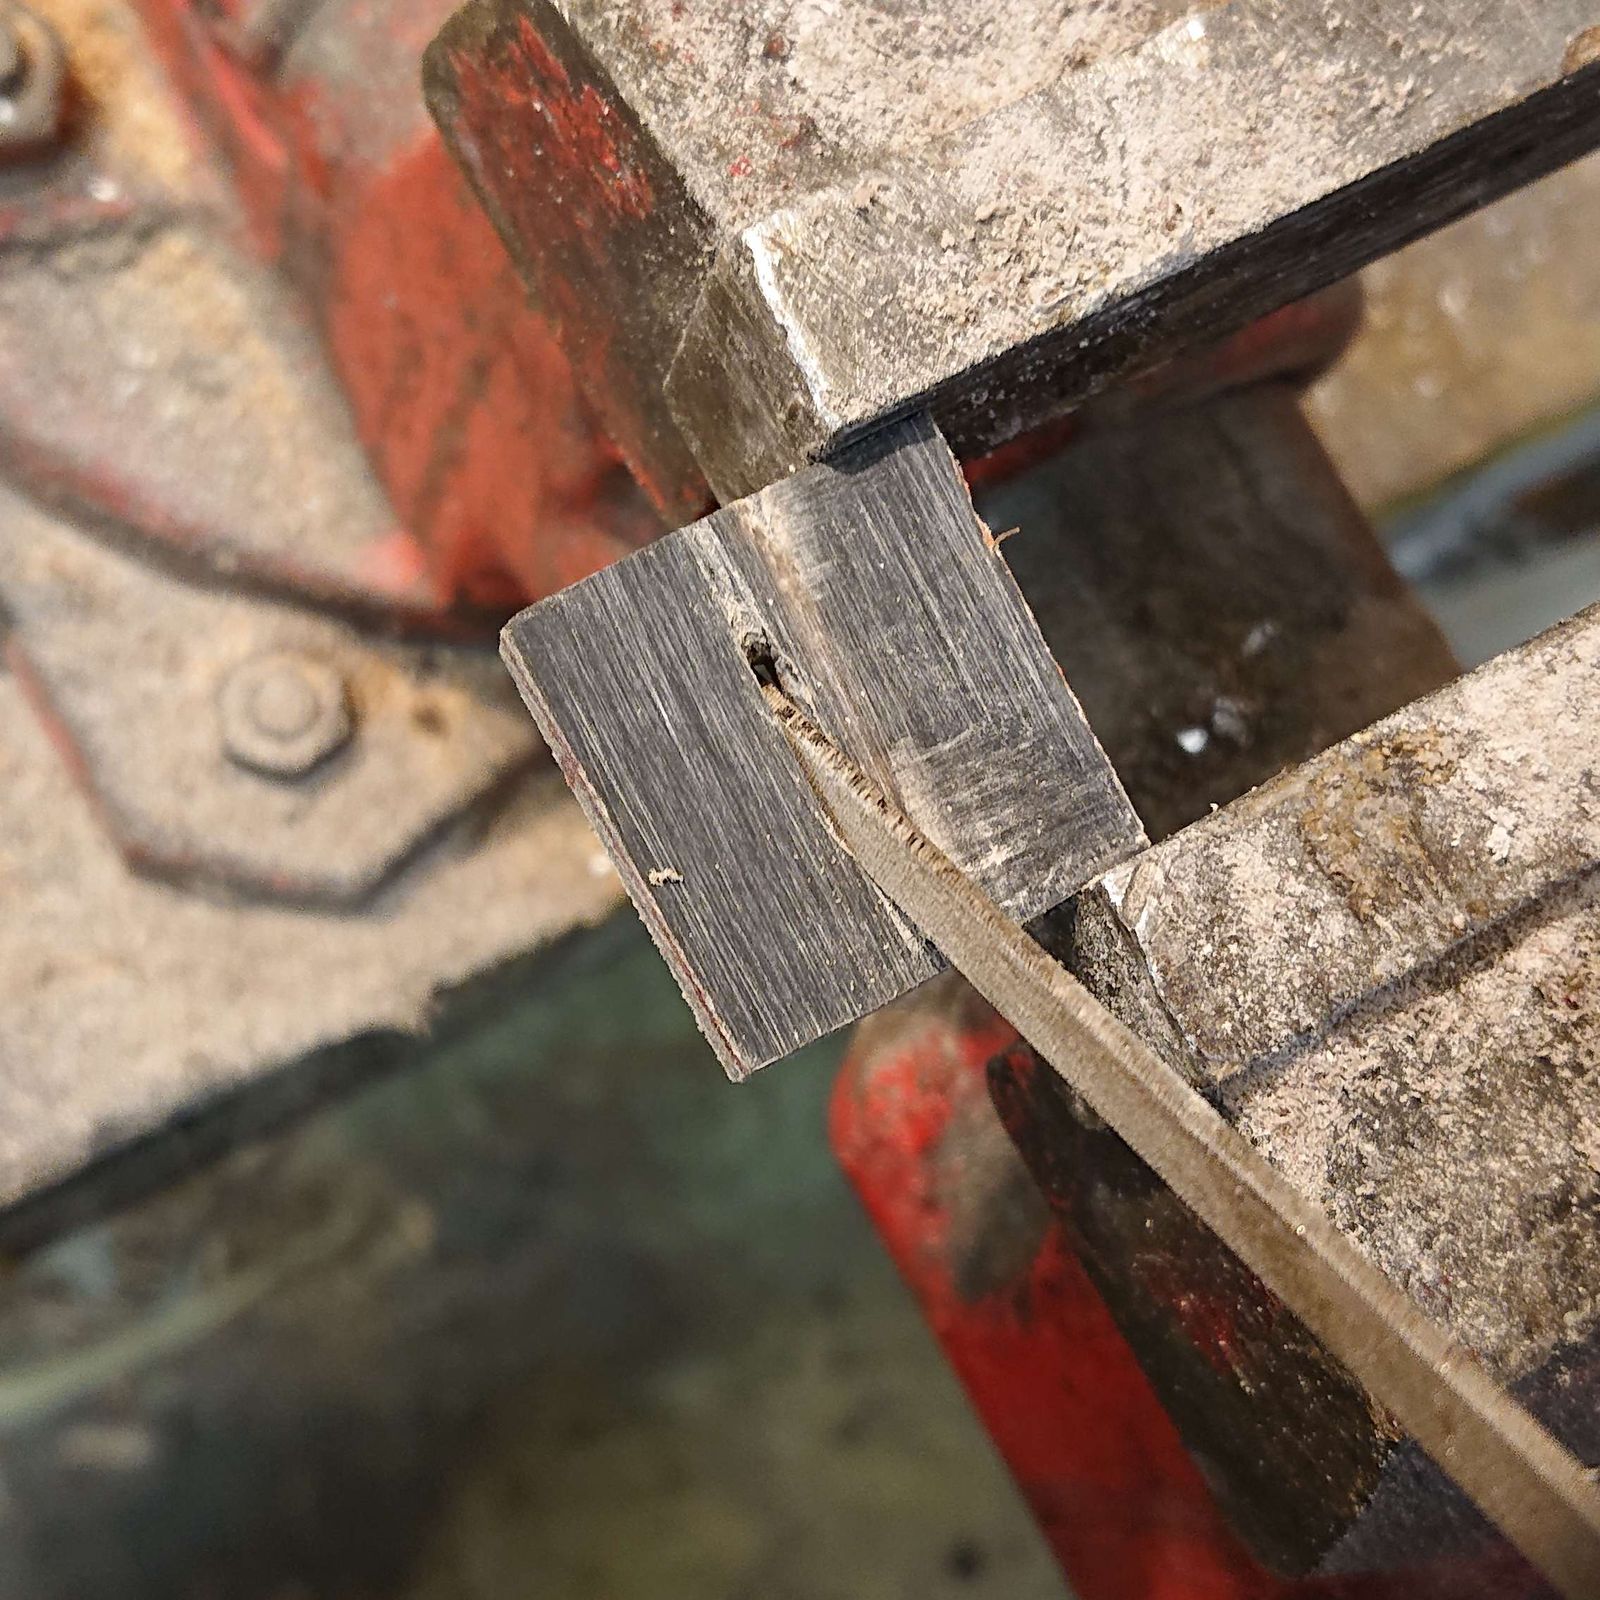
For a really precise hole, it is possible just to drill a pilot hole and burn the rest with a heated-up tang. But when making 16 knives in one go I have decided against it for several reasons. The first and probably the main one is that this produces an awful amount of stink and pollutes the workshop for half an hour even with open doors and windows. The second reason is that tangs this thin are easy to overheat and thus air-quench, which is undesirable. Thus I was beavering away with files until the holes had about 90% of the desired shape and size.
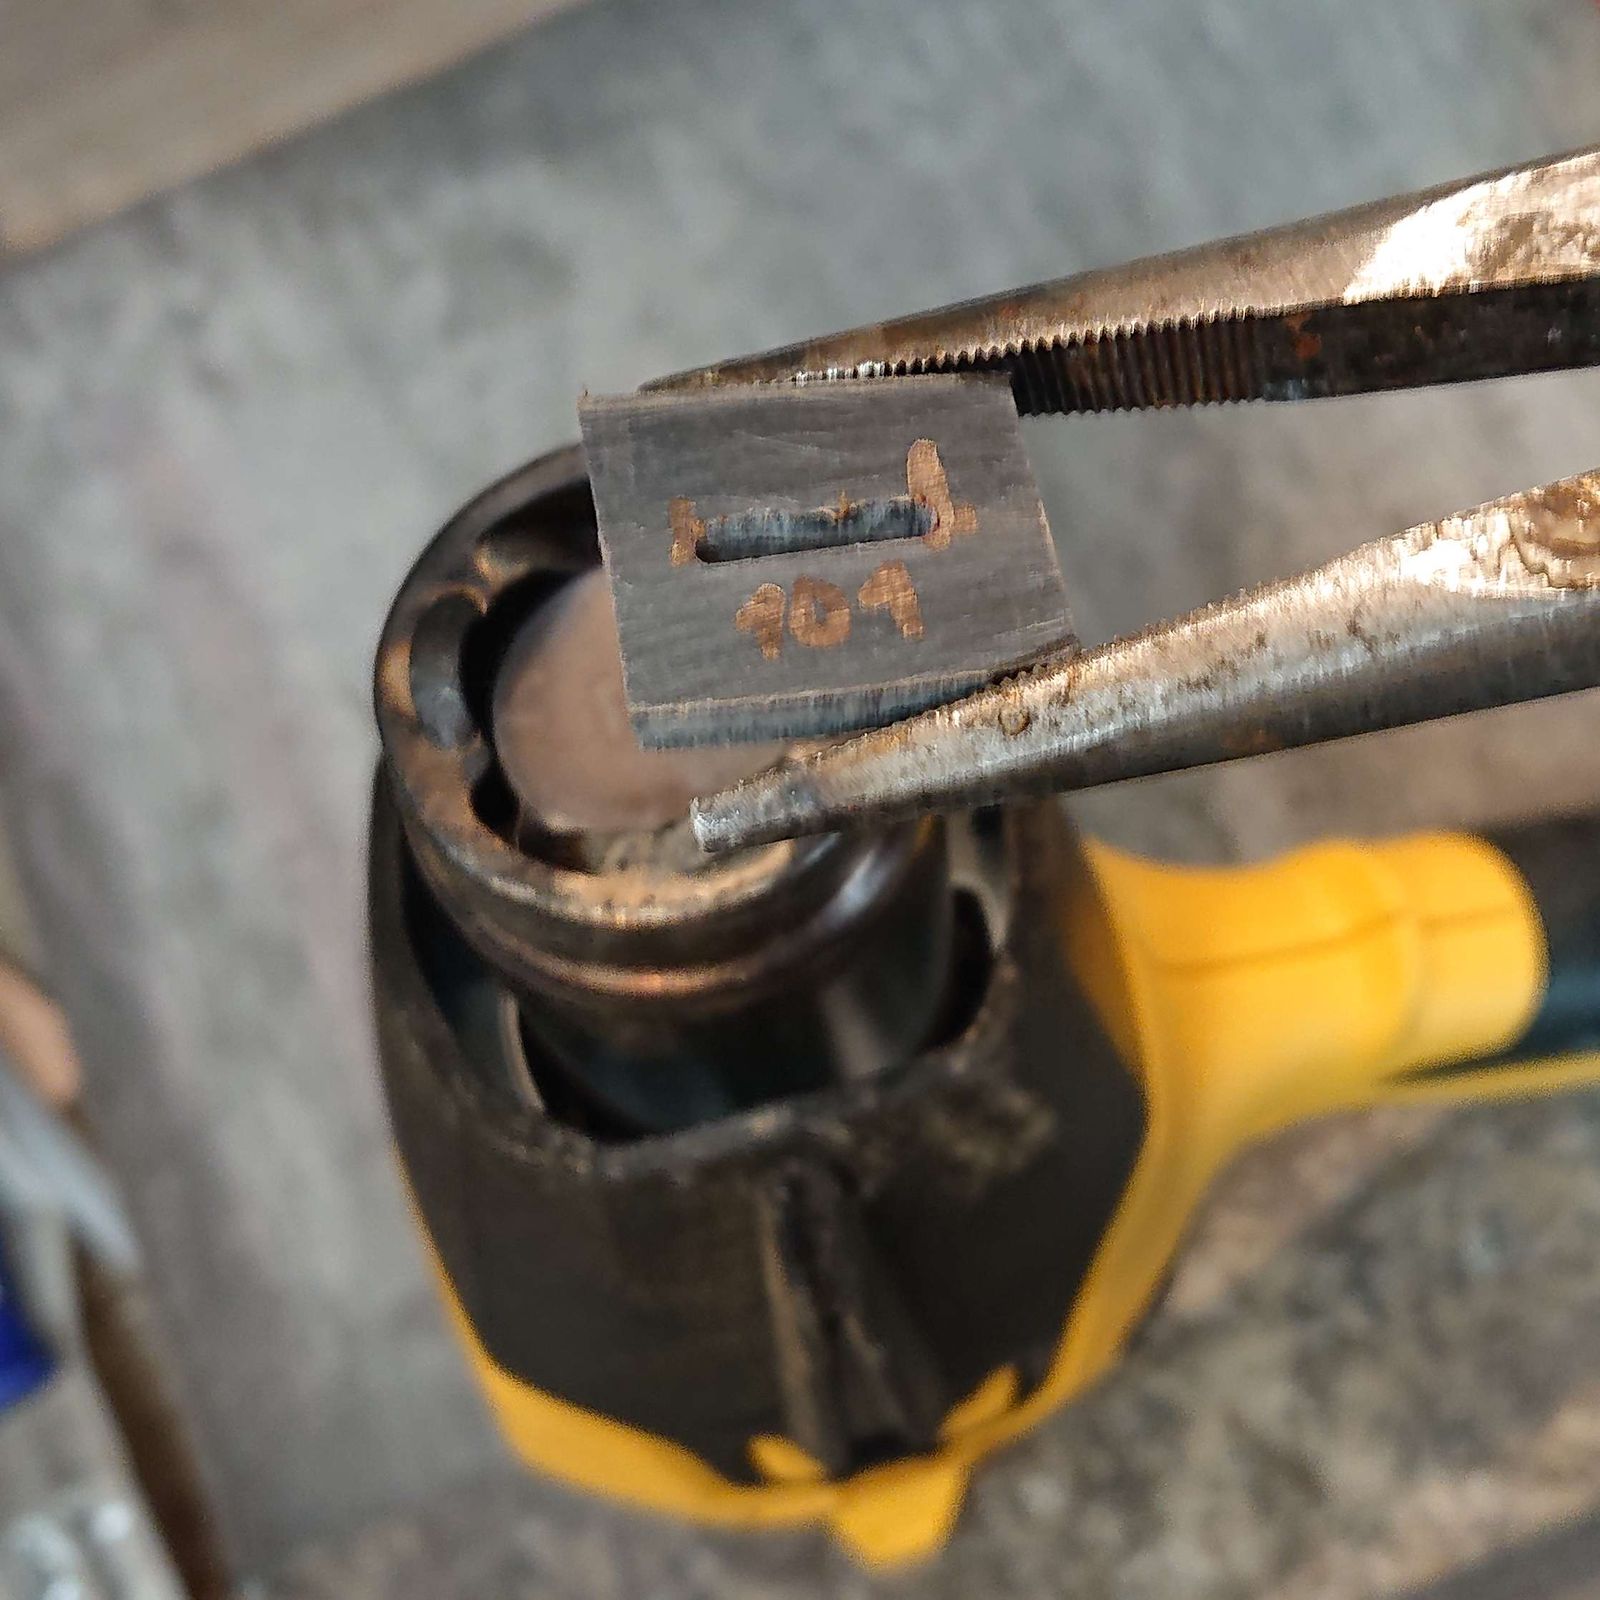
For final adjustments of the hole, I heated the bolster above a heat gun. Horn behaves a bit like plastic and it can be molded while hot. A heated bolster can be inserted on the tang and with pressure to form the indentation for the blade base relatively precisely – for now.
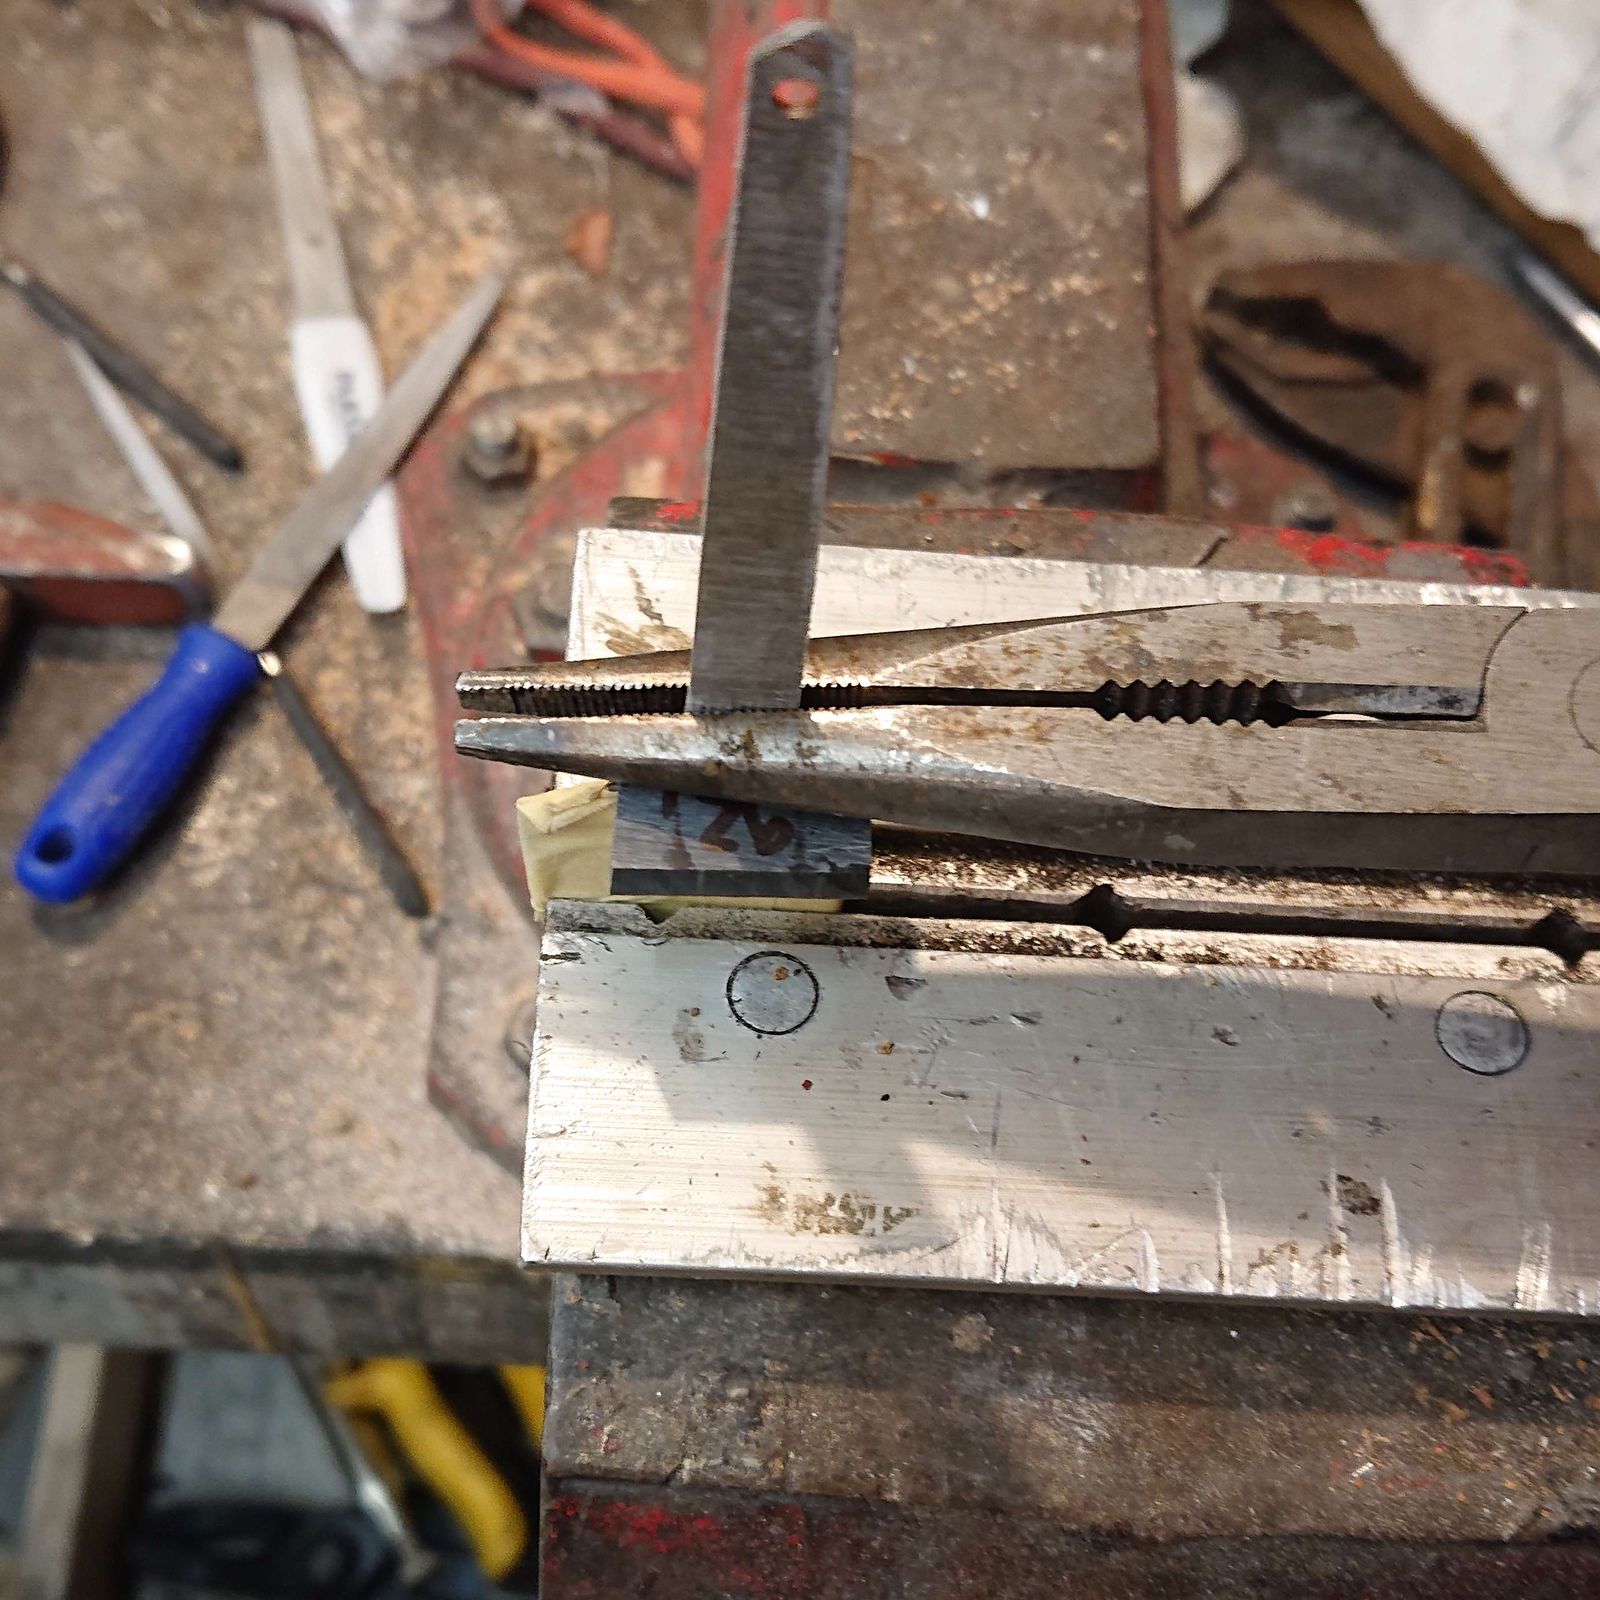
This might need repeating later, the bolsters can still lose some material or deform when they cool, etc. However, it suffices to polish the front face to 1500 grit and I am done with them for now.
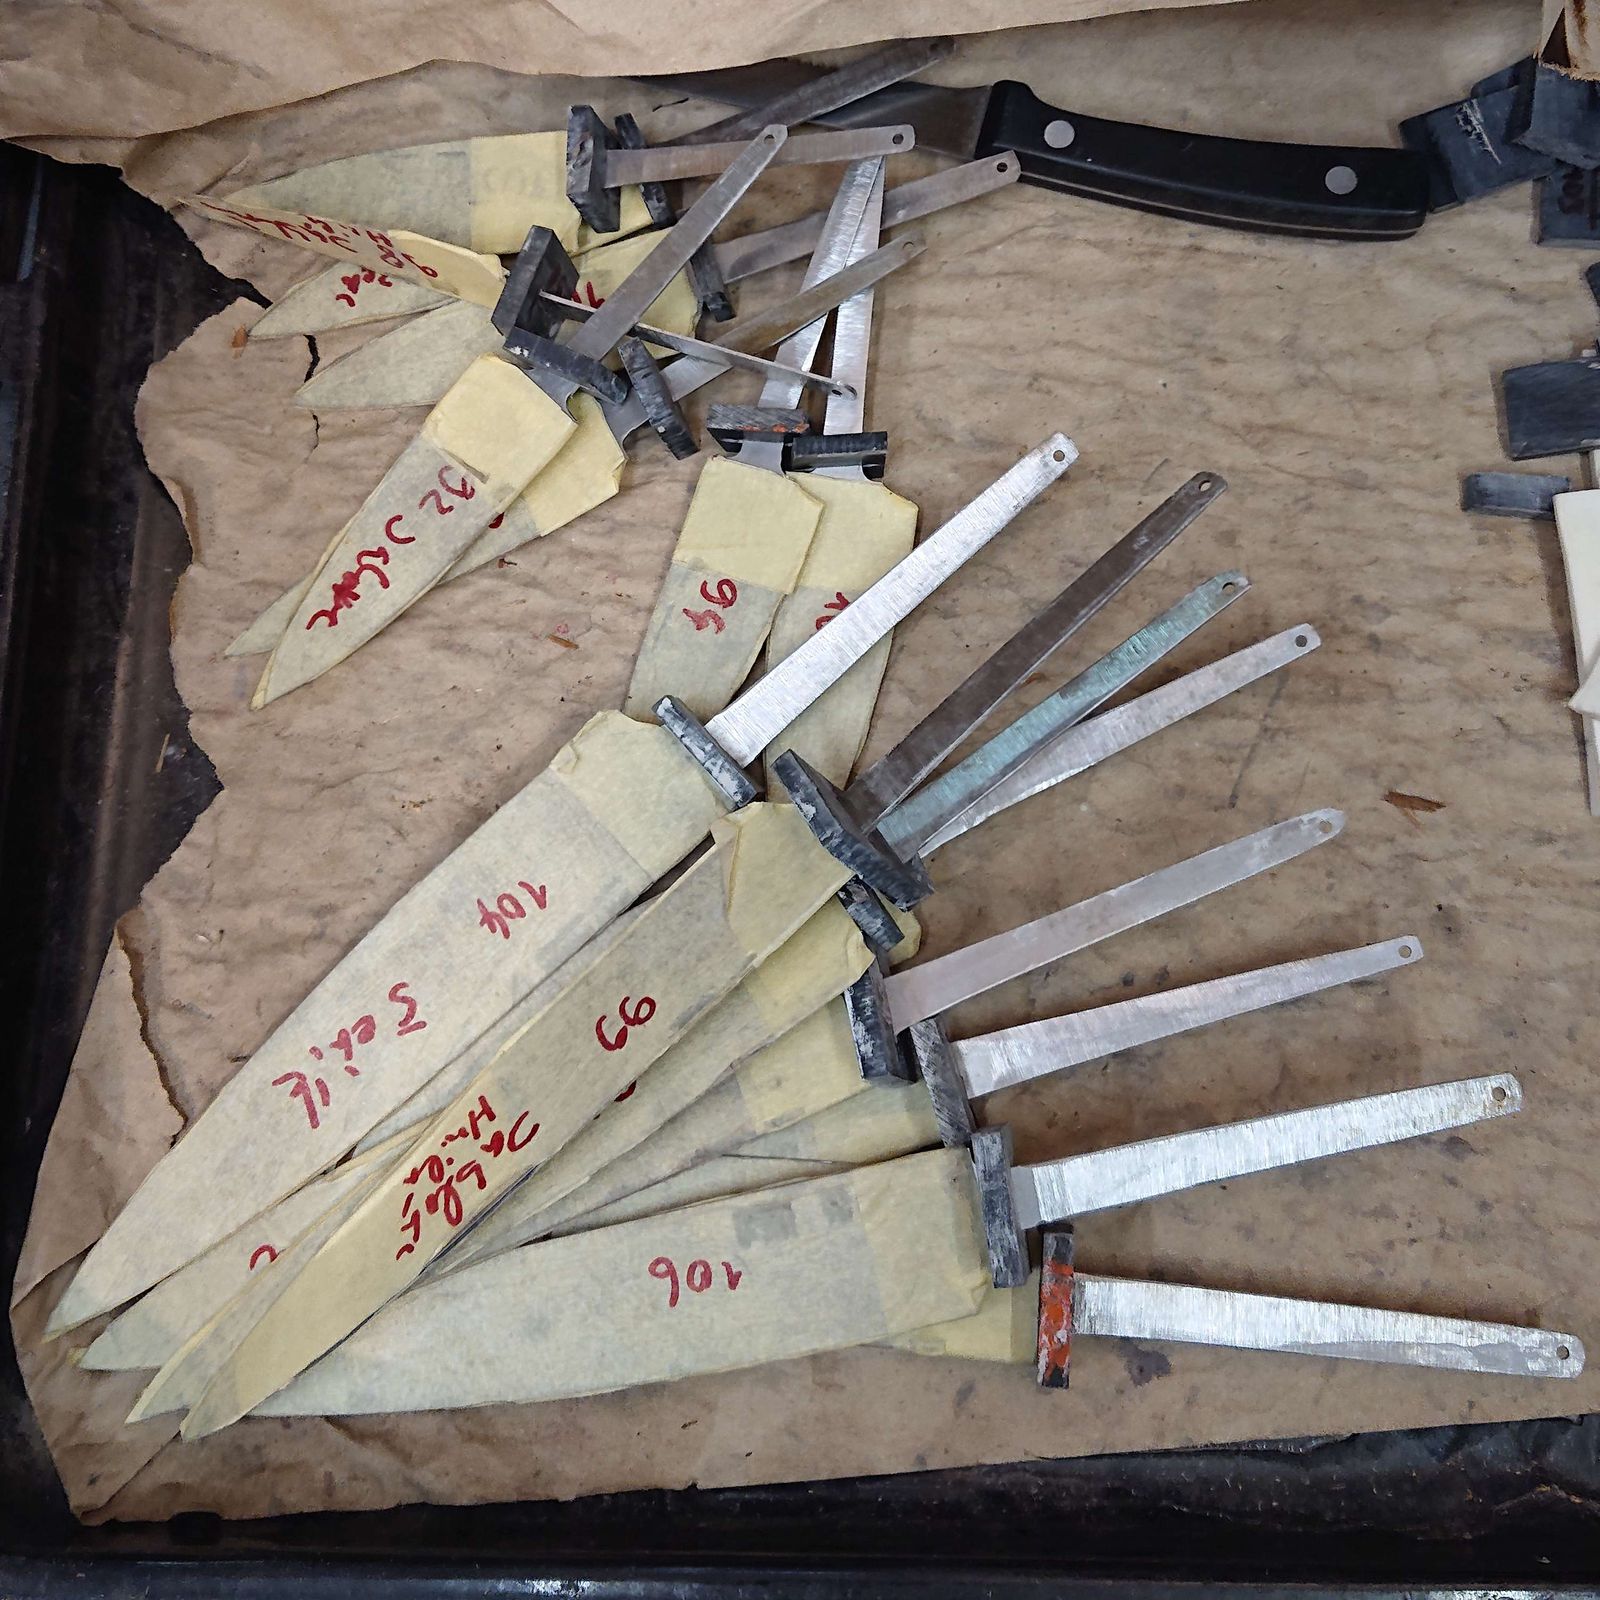
It does not look like much, but making 16 tiny bolsters did take significant time. But now the project is more than half-finished and it approaches its end. The next week's article will be about preparing the wood for handles and blocs and the products will slowly begin to emerge from my vision into reality.
