Making a Commision - Part 7 - Etching
After the blades are taken out of the tumbler it is finally possible to finish them, ie to grind out the final outline and etch logos and numbers.
If I wanted all blades to be identical or to conform to the templates, this is when I would achieve that. Since I do not care that much about it though, I just ground them all to a shape that "looks right".
Firstly I shaped and polished the backs using blunted belts and ca ¼ speed. The blade backs are thin thus the contact area with the belt is very small. That leads to fast wear of the belts - thus I am using blunted belts, which finishes them off – and to extreme overheating – thus the lower speed in addition to water cooling. The backs are thin and scratches are not very visible, with lengthwise polishing trizact A 65 finish is enough.
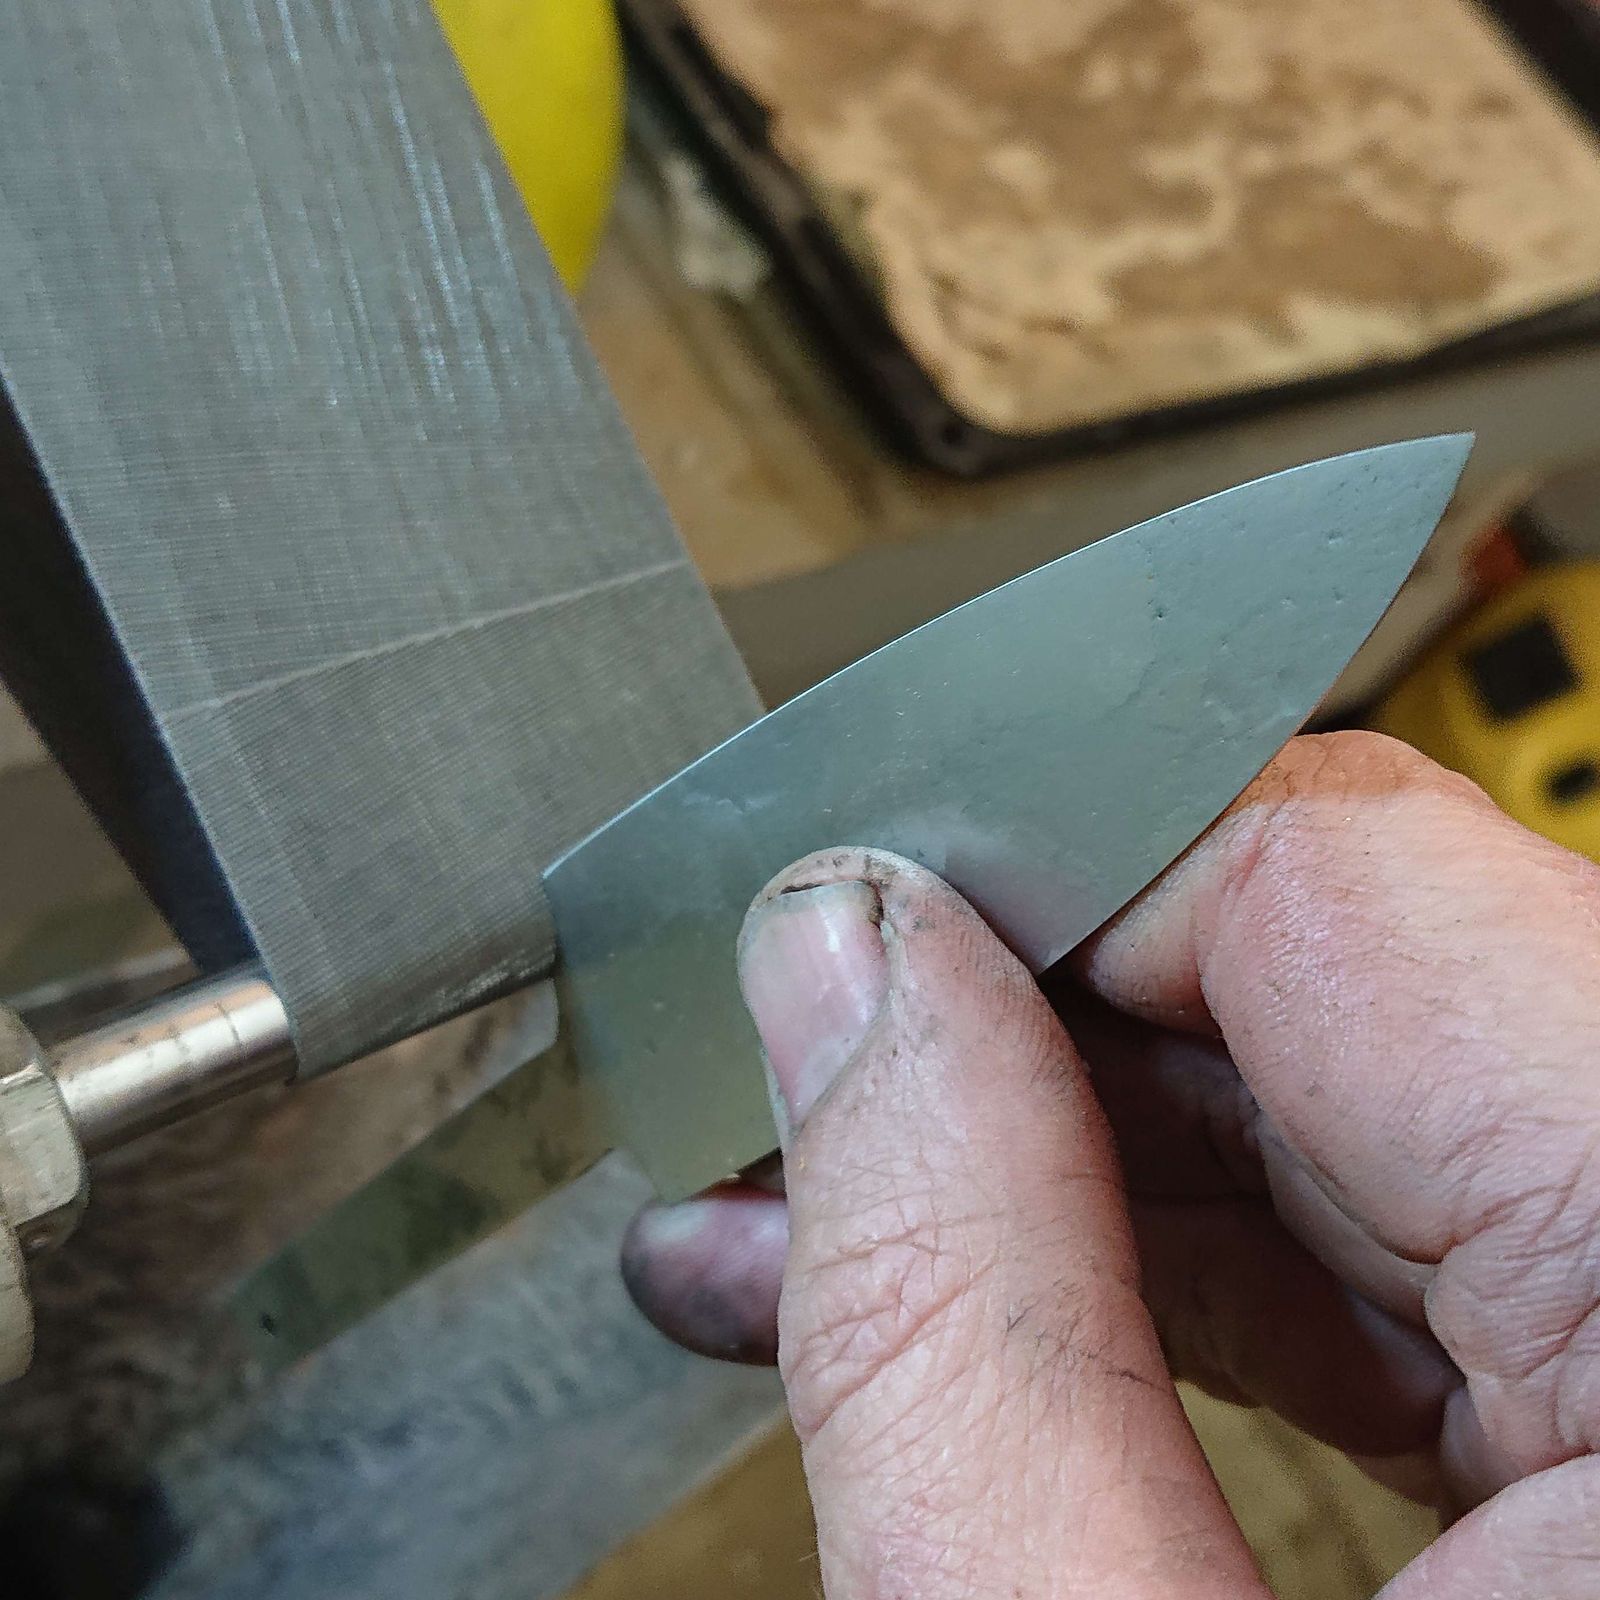
A bit tricky is polishing below the heel of the
blade. For this I have to lower the speed to 1/10 and be very
careful with grinding, using just a 10 mm wheel. Should I need to
polish an even smaller diameter, I would have to do it manually using
wooden dowels wrapped with abrasive paper.
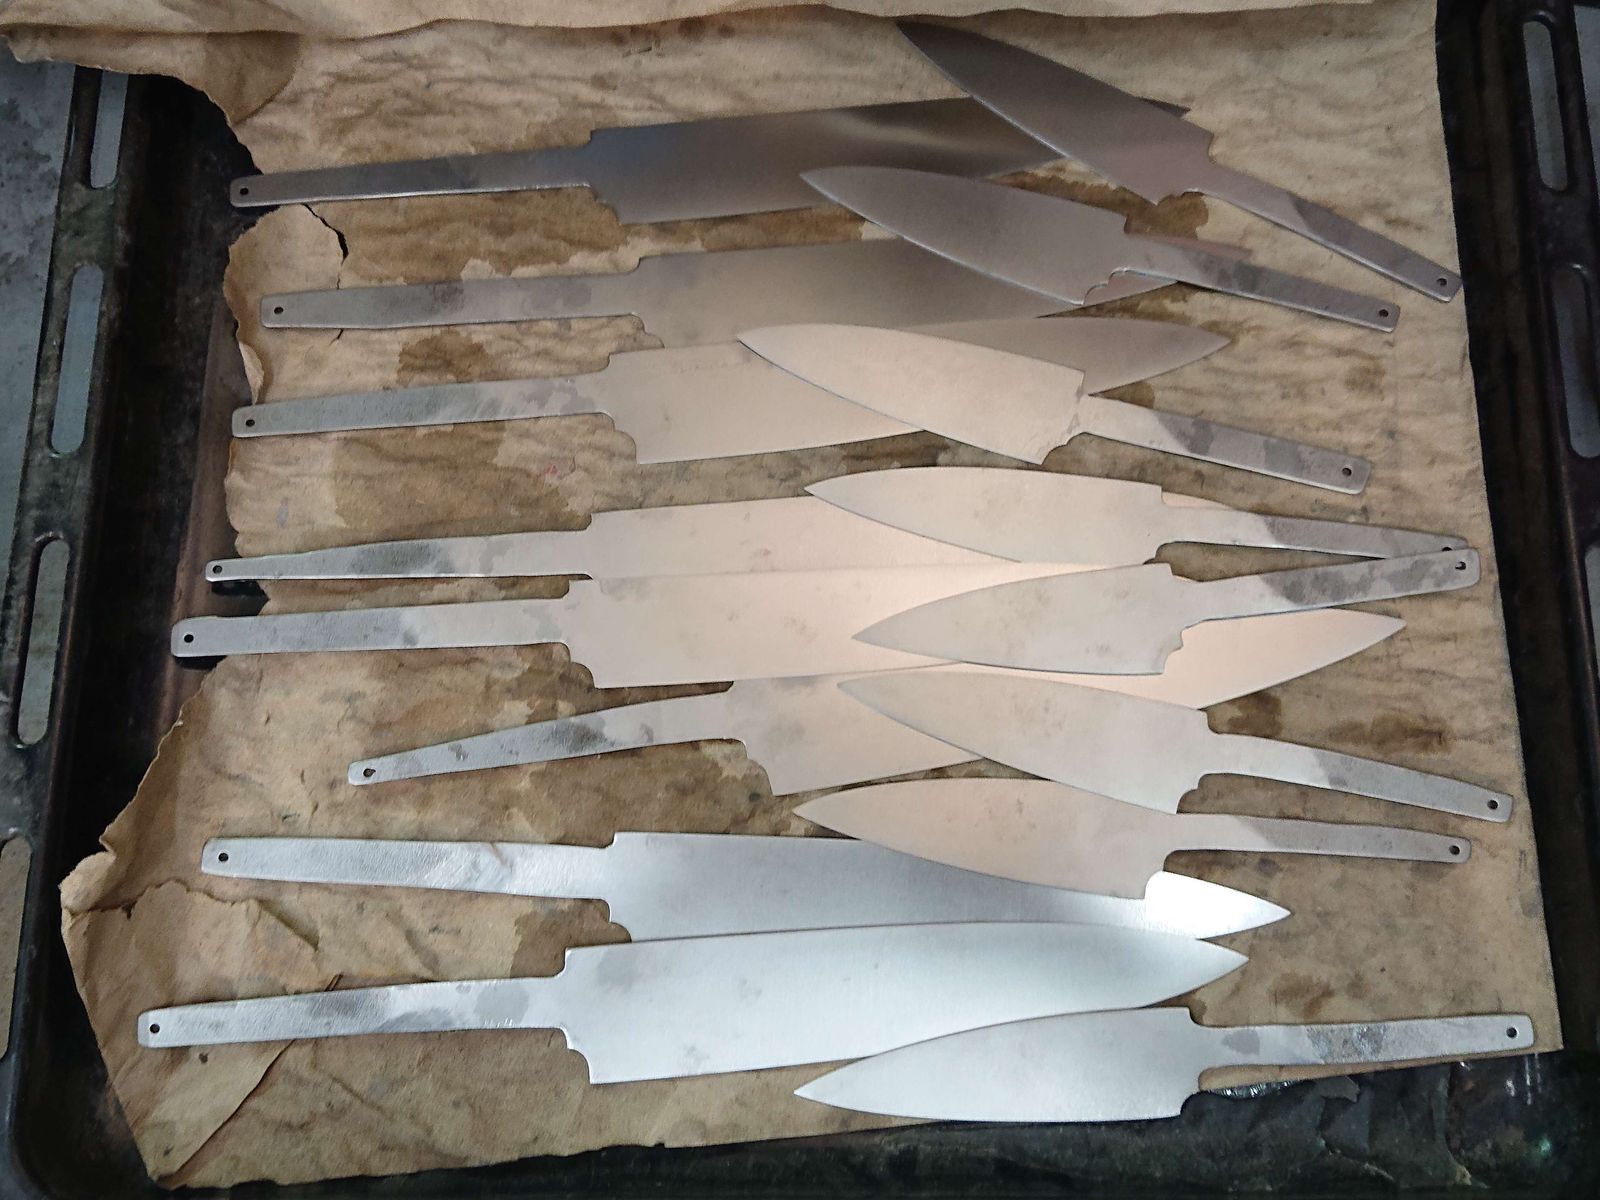
The result are finished blades that need to be signed. Before that it is good to degrease them, for which it suffices to put them with the dishes in dishwasher.
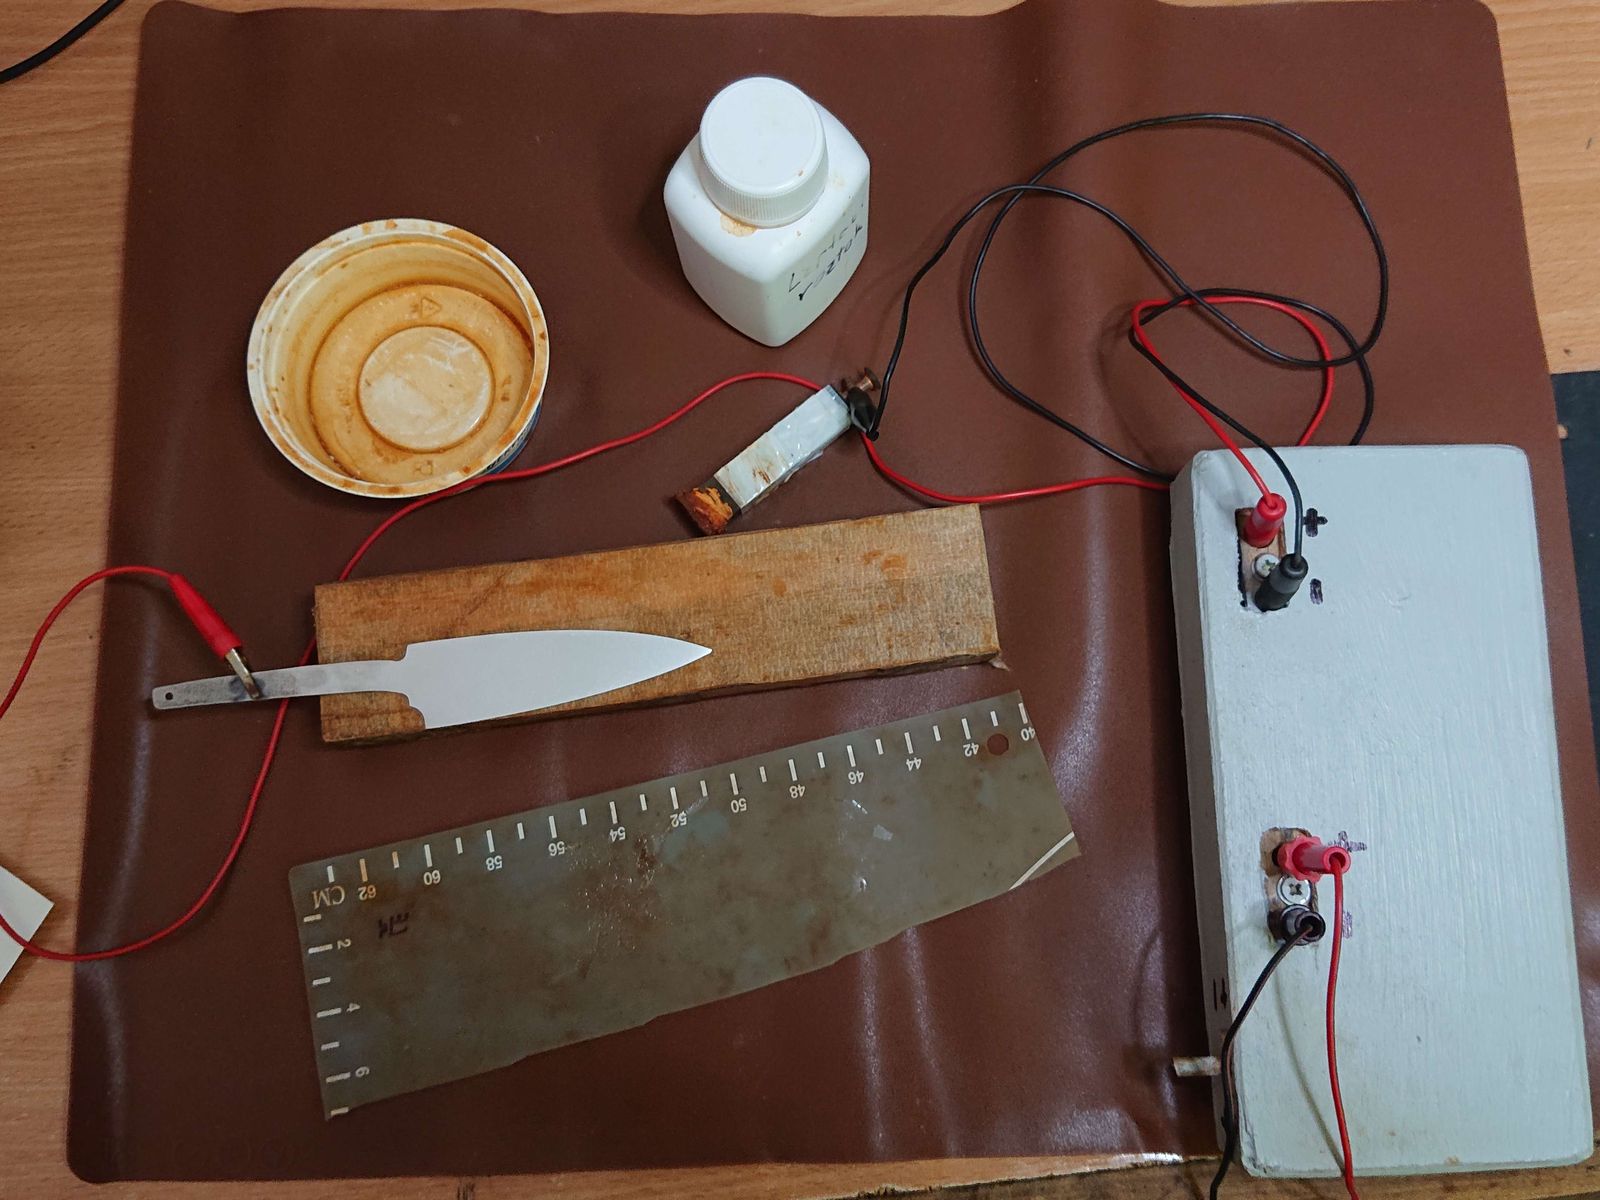
In the picture you can see an approximate layout of
my workplace, items from left top to down right:
A bowl for etching fluid, a bottle with etching fluid (a mixture of NaCl and FeCl3), a graphite electrode with a felt tip, a blade on a magnetic holder, a silicone logo template, and a switch.
For the etching, I connect the positive electrode on the blade, put the silicon template over it and I press the graphite (-) electrode over it, soaked in the etching fluid, and close the switch for approx half a minute. That is enough for etching slight indentation. To color the surface black I switch the polarity a few times – this deposits a thin layer of iron oxides. After etching the logos I repeat the process for number. More about my logo and numbering maybe in the future.
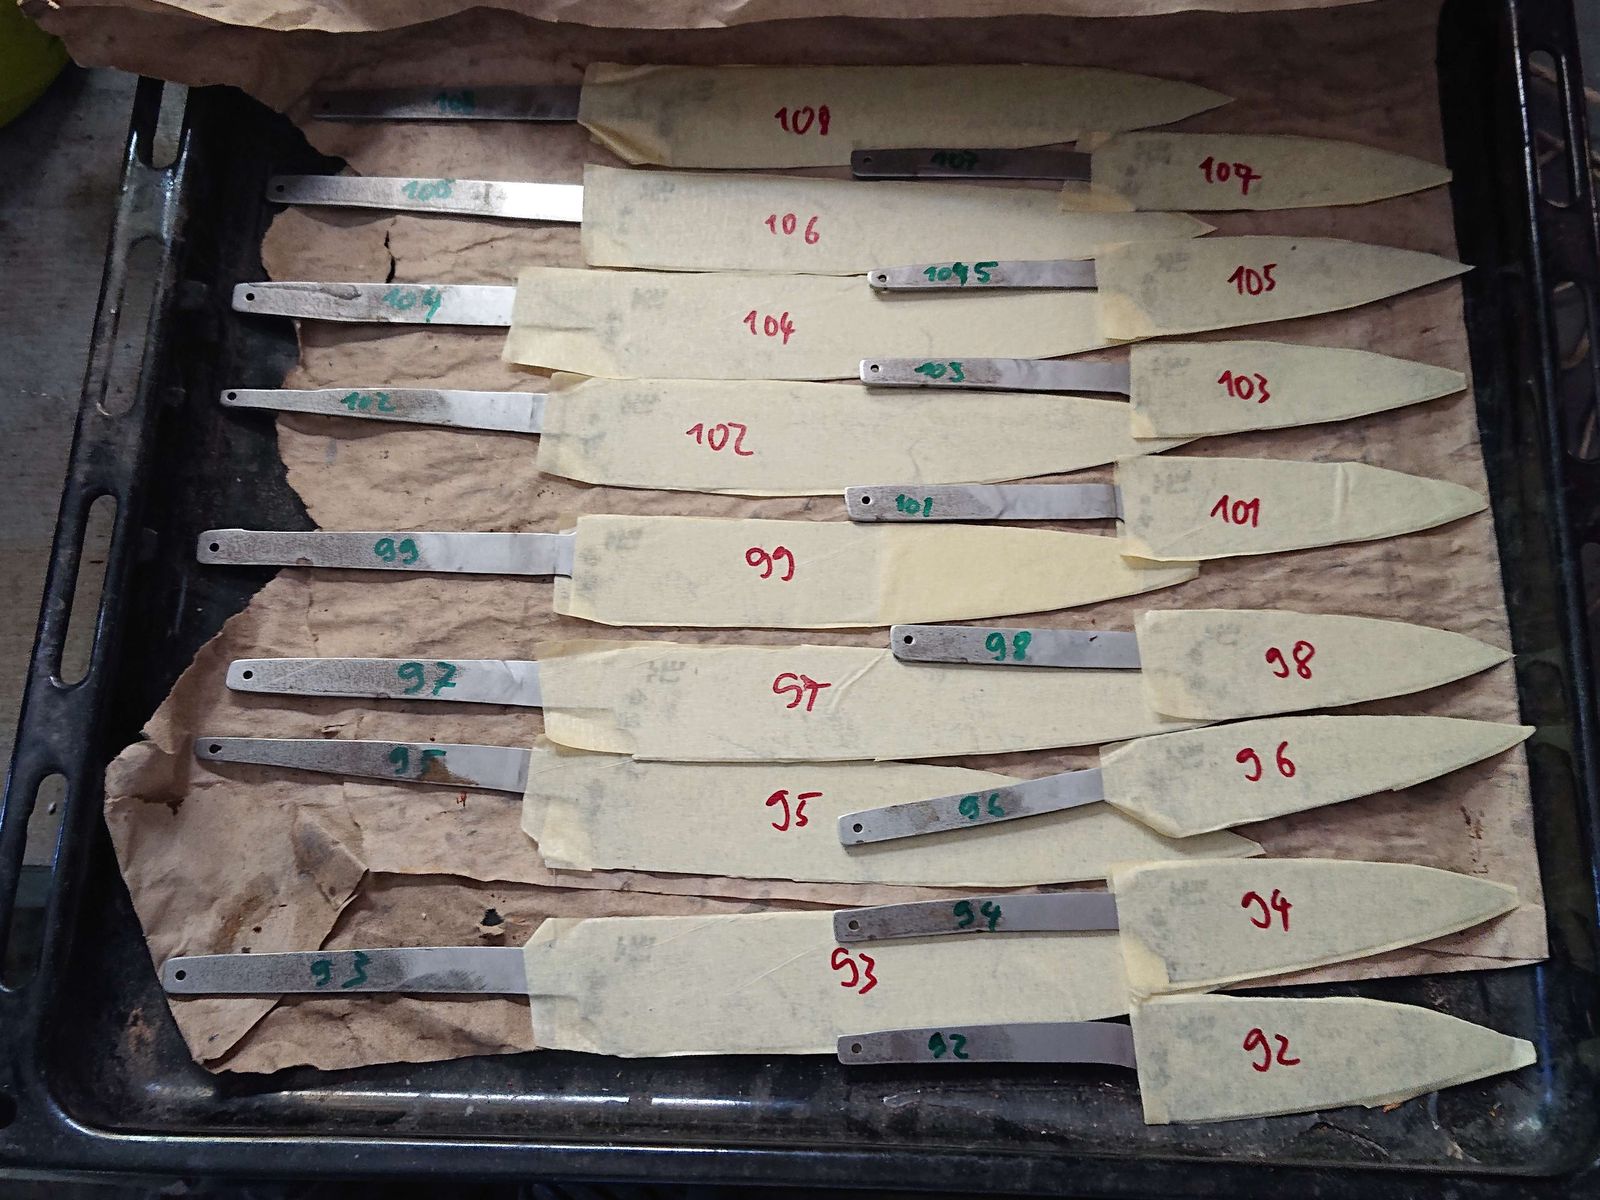
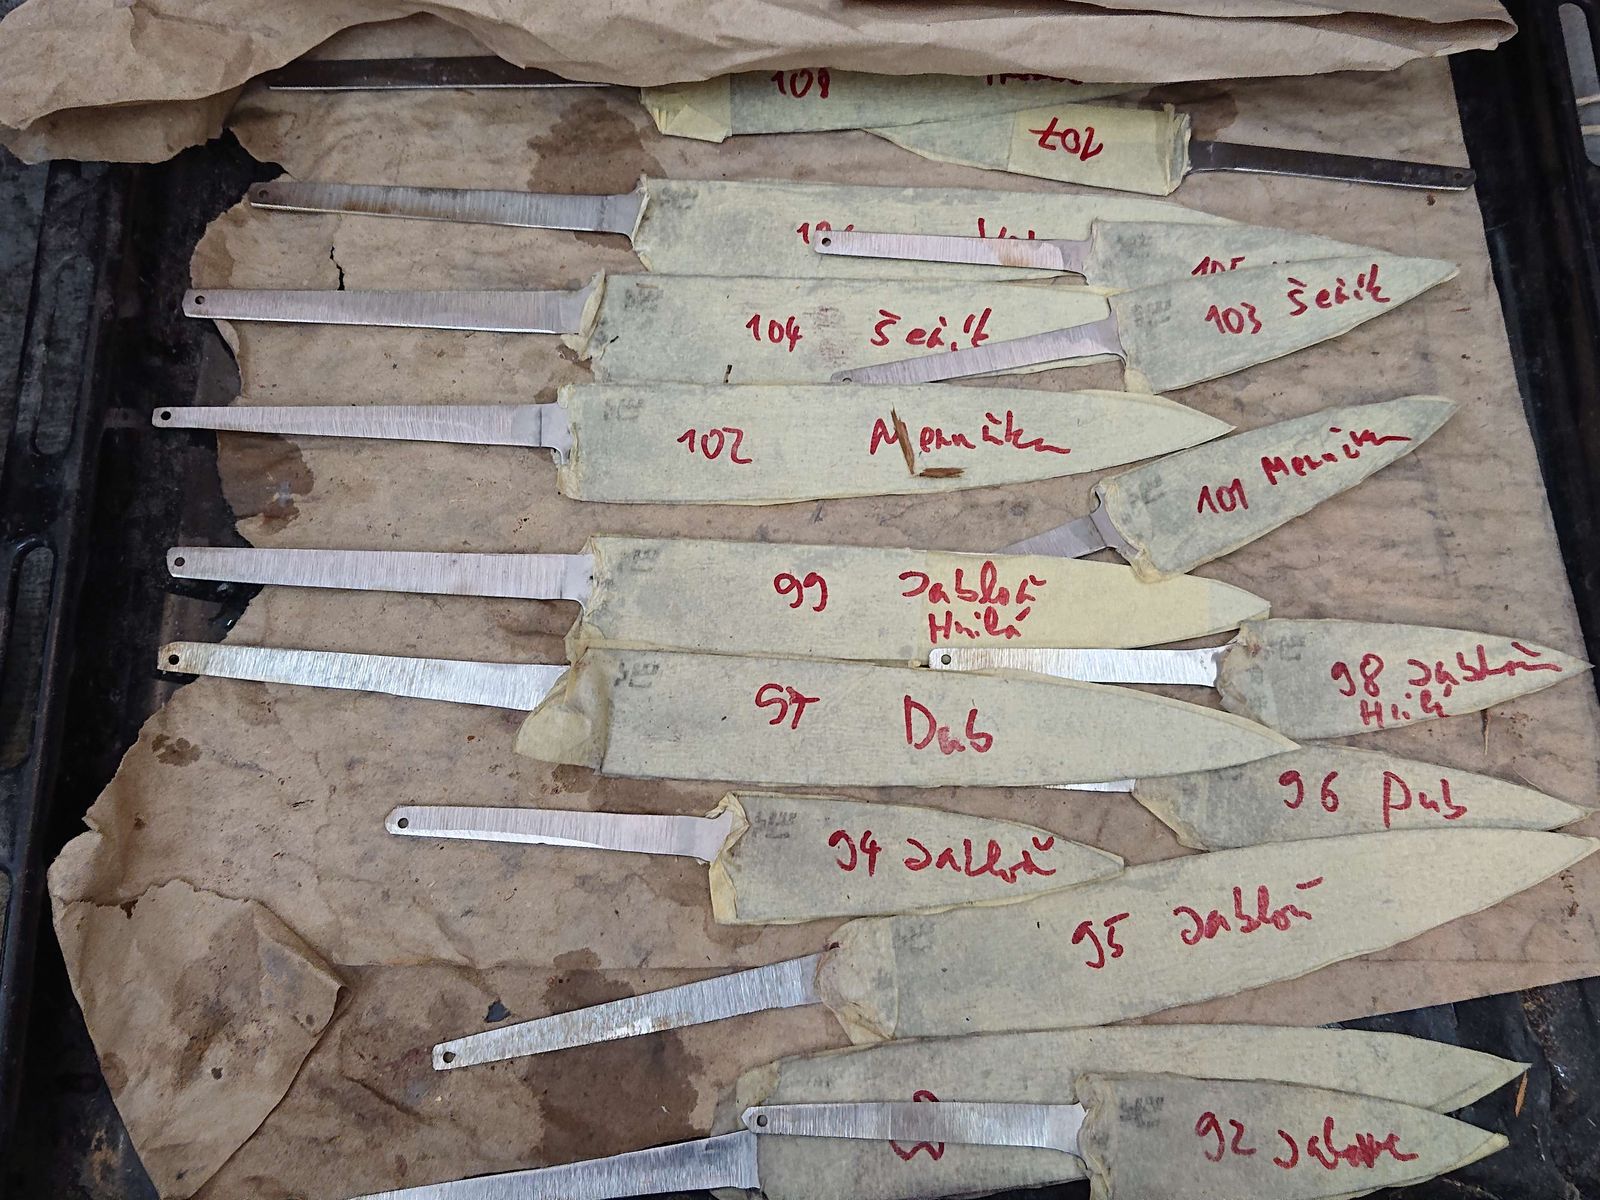
After etching, I cover all blades with masking tapes.
It is way too easy to scratch them in the workshop, especially since
I still have to work with the belt grinder – to shape the tangs.
In order for the bolsters to fit on the tangs with minimal gaps, it is necessary for them to be the entire length of either the same or smaller diameter than at the blade/tang boundary. The surface finish is not important so it suffices just to run over them with a coarse belt a few times. In fact, the rough scratched surface provides better adhesion for glue, although that is not highly important for this construction. Once the tangs are shaped, I assign the wood kinds to the blades and I mark them accordingly.
I had to do a lot of different work around the house
and the garden, so I am not entirely sure I will manage to continue
next week. If not, then the week after that definitively – talking
about bolsters and handles.
