Making a Drum Sander - Part 8 - Changes
When working on my next board I decided to modify my drum sander a bit. And after the first change, the fate decided I have to make more.
My intended change consisted of changing the propulsion wheel to one with bigger diameter, almost double. That allows me to run the motor at higher speeds and thus with higher power without the abrasive drum burning the wood.
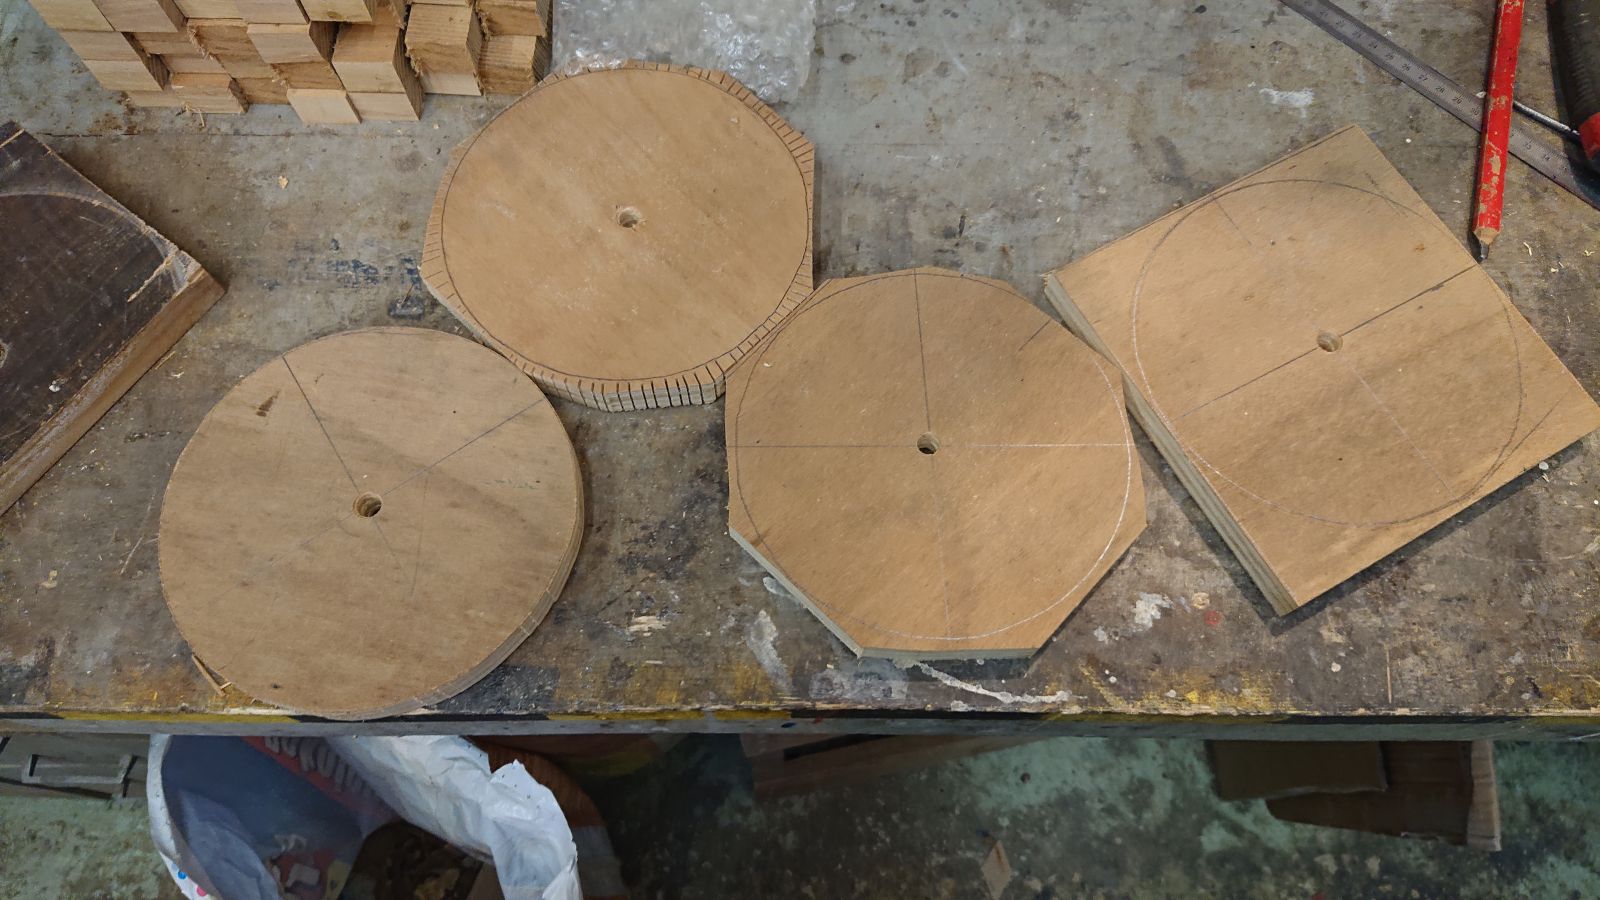
With the lessons learned from making the first wheel, I first cut 18 mm plywood into squares. Onto those I inscribed the circumference of future wheel with a compass and drilled the centers. After that I cut off the corners and I cut the edges of the resulting octagons all the way to the inscribed circle every few mm.
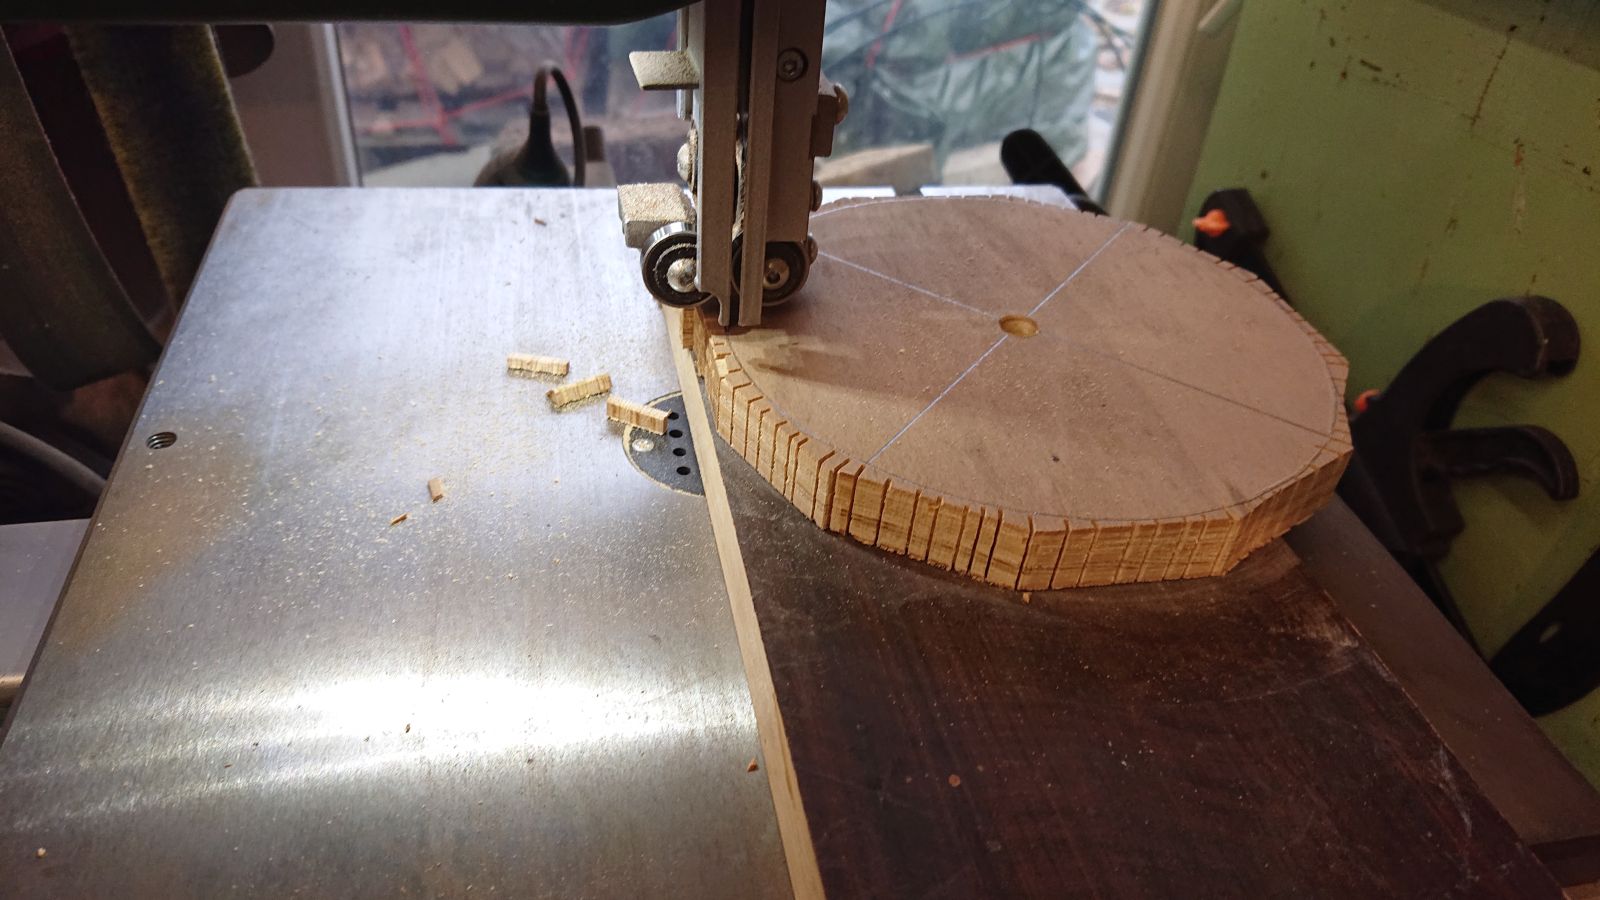
A board with a 10 mm peg fixed on a band saw subsequently allowed me to cut out approximate circles that I could glue into a cylinder.
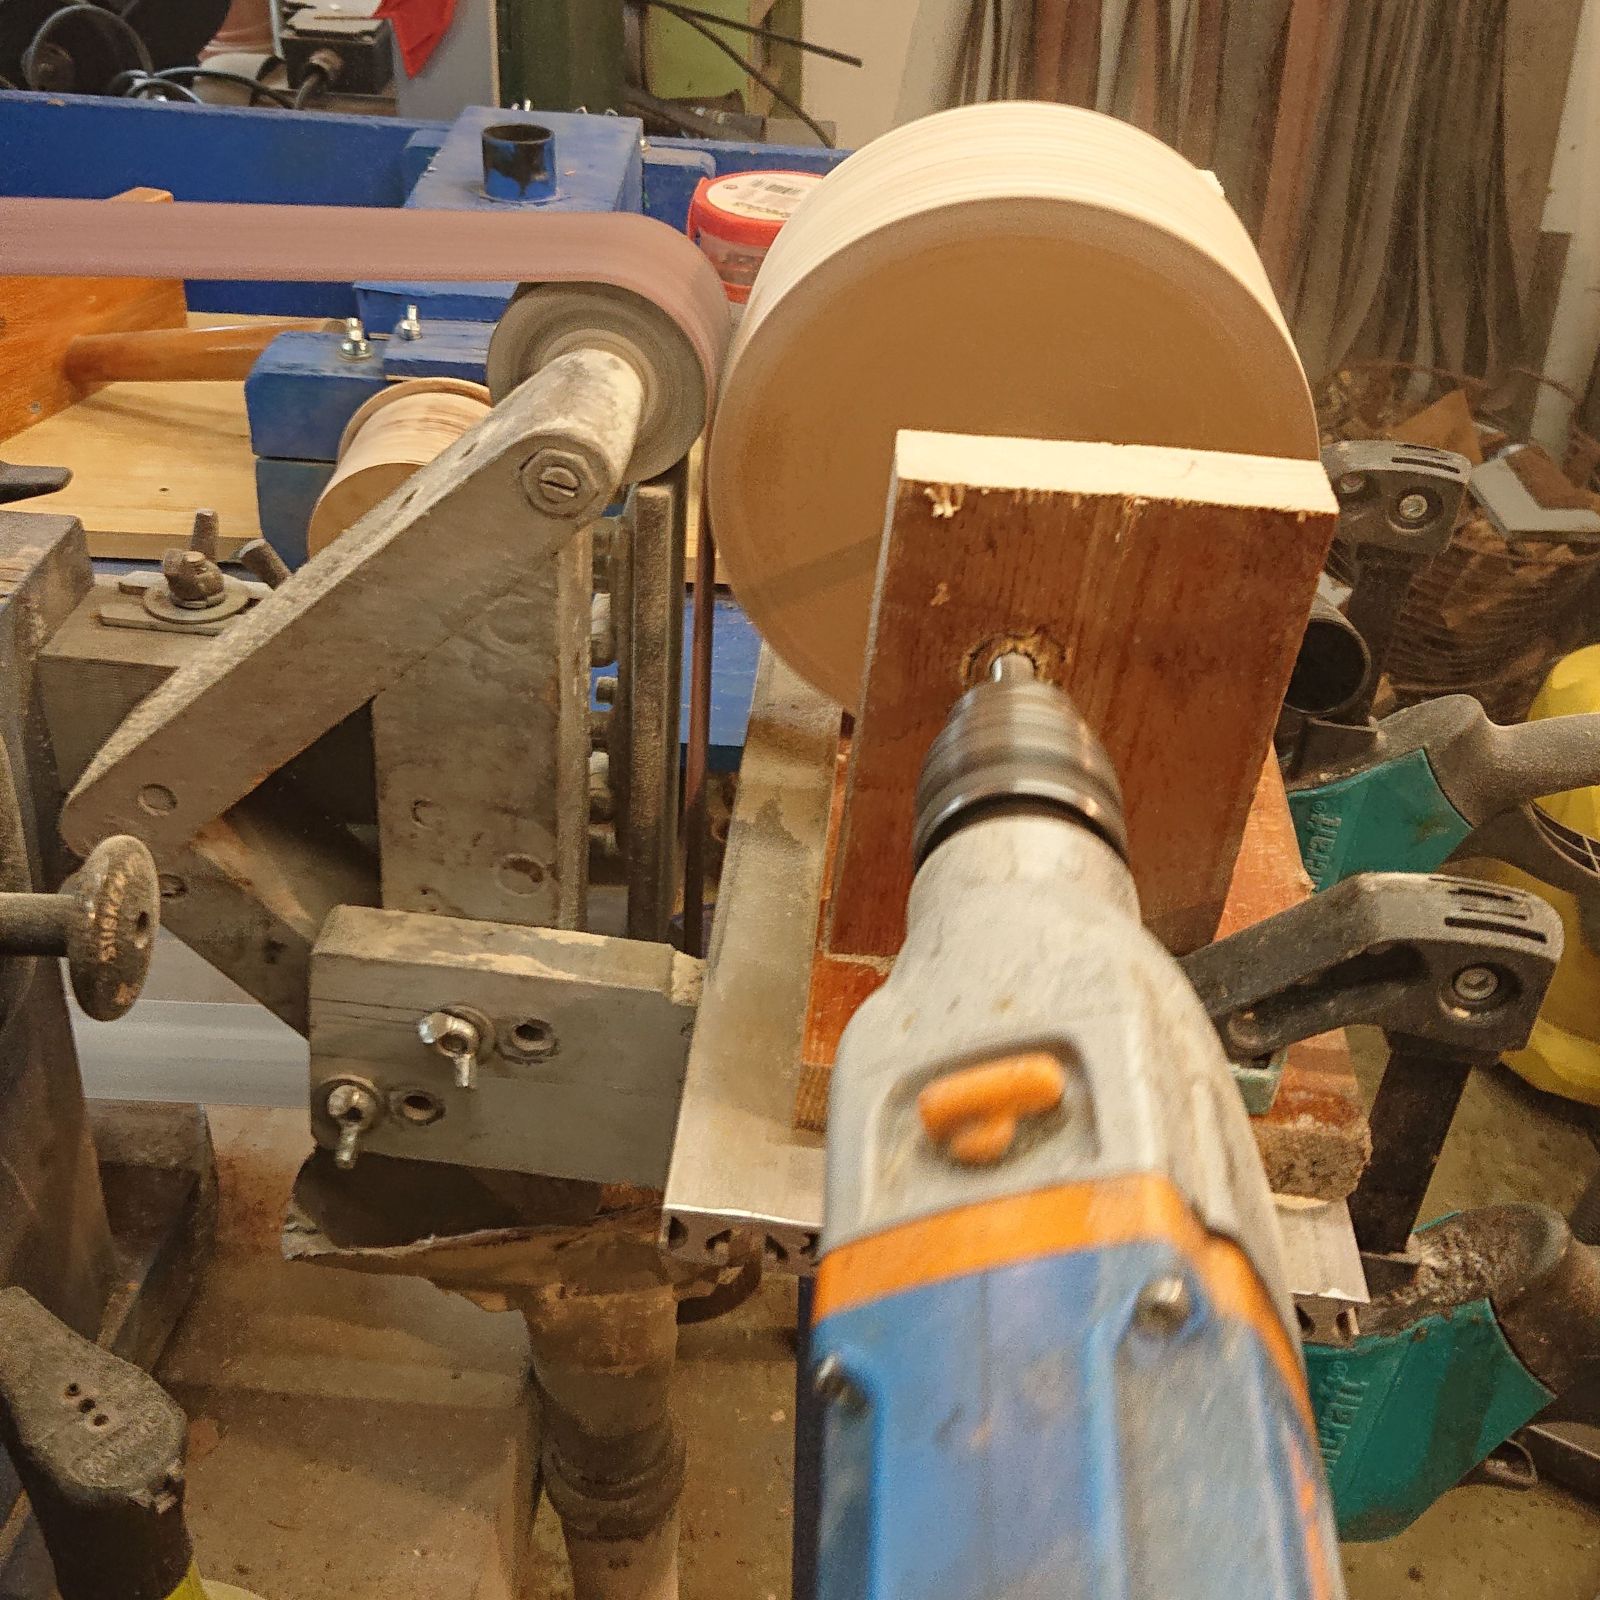
An improvised scaffold on the belt sander in combination with a drill proved to be an adequate substitute for a late and allowed me to make a cylinder concentric with the hole in the middle.
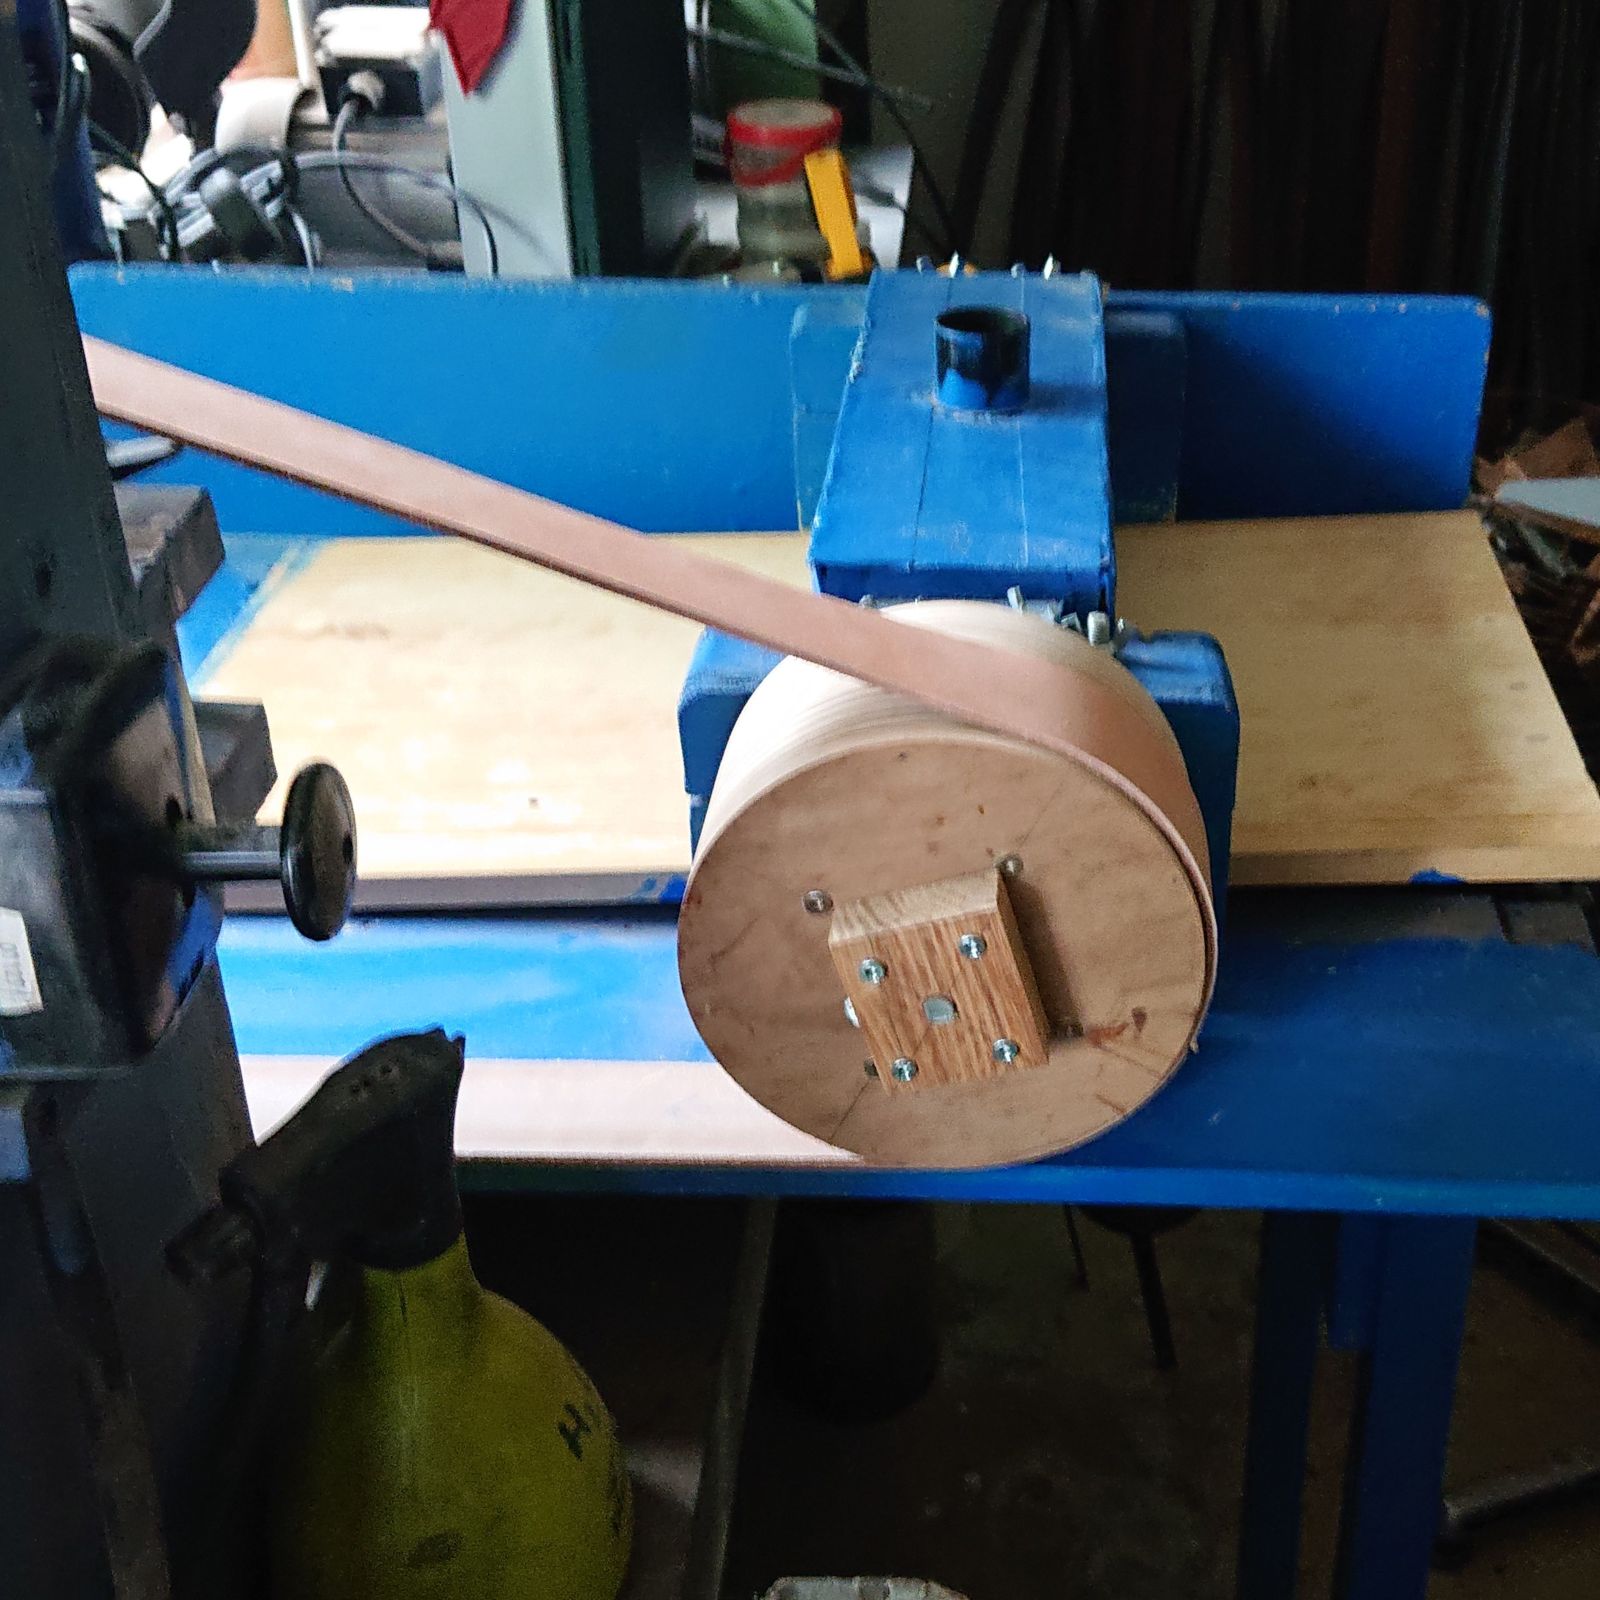
To attach the wheel to the drum axle I screwed on it a piece of black locust wood with an M6 steel nut insert in it. Through the nut goes M6 screw that presses against a flat surface filed into the side of the acle. It worked really well, it could be said too well. The machine had notably higher power. There was almost no slipping of the belt on the propulsion wheel and it was very difficult to stall the drum. The machine took in fact enough material for me to skip flattening the board with a router.
And then a thing happened that I was afraid of – the axle broke at the point where the ball bearings were held in place with snap-on rings. It was the most stressed part of the axle and the grooves for the rings weakened it too much. For the new axle, I decided to use snap-on rings only on the right-side bearings where there is essentially no torque. On the left side, with the propulsion wheel, the bearings are held in place with a tubing spacer on the axle.
And when I was making a new axle, I changed the whole abrasive drum too.
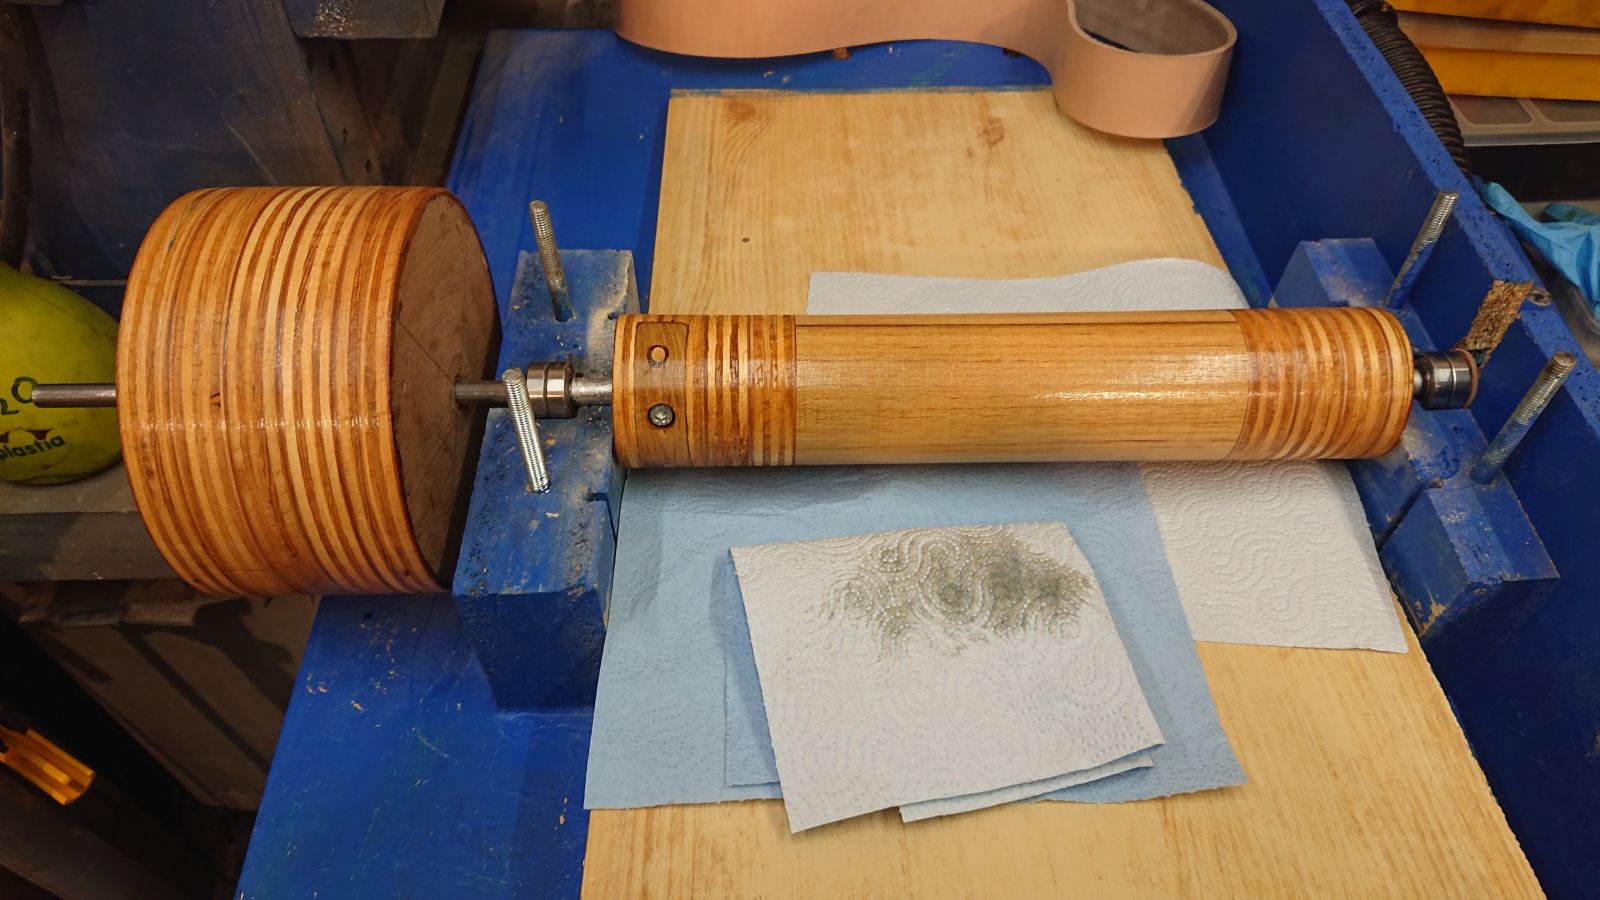
The first drum was not ideally drilled through. When I inserted a 10 mm rod through it, it bent slightly. I solved the problem by cutting the ends off and extending it back by gluing on circles from plywood. The result is a cylinder in which a 10 mm rod can be inserted whilst remaining straight. To attach the drum to the axle I used again M6 screw going through a steel nut fixed in a piece of black locust wood. Which of course meant that I had to turn the whole drum down so it was again parallel with the tilting table. When I was at it, I took off approximately 1 cm of the diameter, which should give a little boost to the power again as well as allow me to work on thicker pieces of wood.
And to top it off I applied a polyurethane lacquer on the surfaces yesterday evening to fill all pores and to make the surface slightly harder and abrasion-resistant. Tomorrow I hope to again fix on it velcro with double-sided tape and continue working on the board that I started.
