Making a Commission - Part 3 - Bevel Grind
Primary bevel grind is one of the key steps in manufacture and its result is finally something that actually looks like a knife blade.
Because in this case, it is the simplest possible blade design, it is a relatively simple step. On a blade with a ricasso, ridges, fullers, false edges, etc it is necessary to grind the bevels on both sides as symmetrically as possible. But since in this project, both sides of the steel profile are already flat, why complicate matters – all that it needs is to grind one side and the desired wedge profile emerges automatically. However, despite being the simplest possible manufacture of a blade, it does not mean it is simple and requires no skill.

As far as skill is concerned, the most difficult part
of hand manufacture of knives is establishing the primary bevels at
the correct angle. And since I am a proponent of the "work smart,
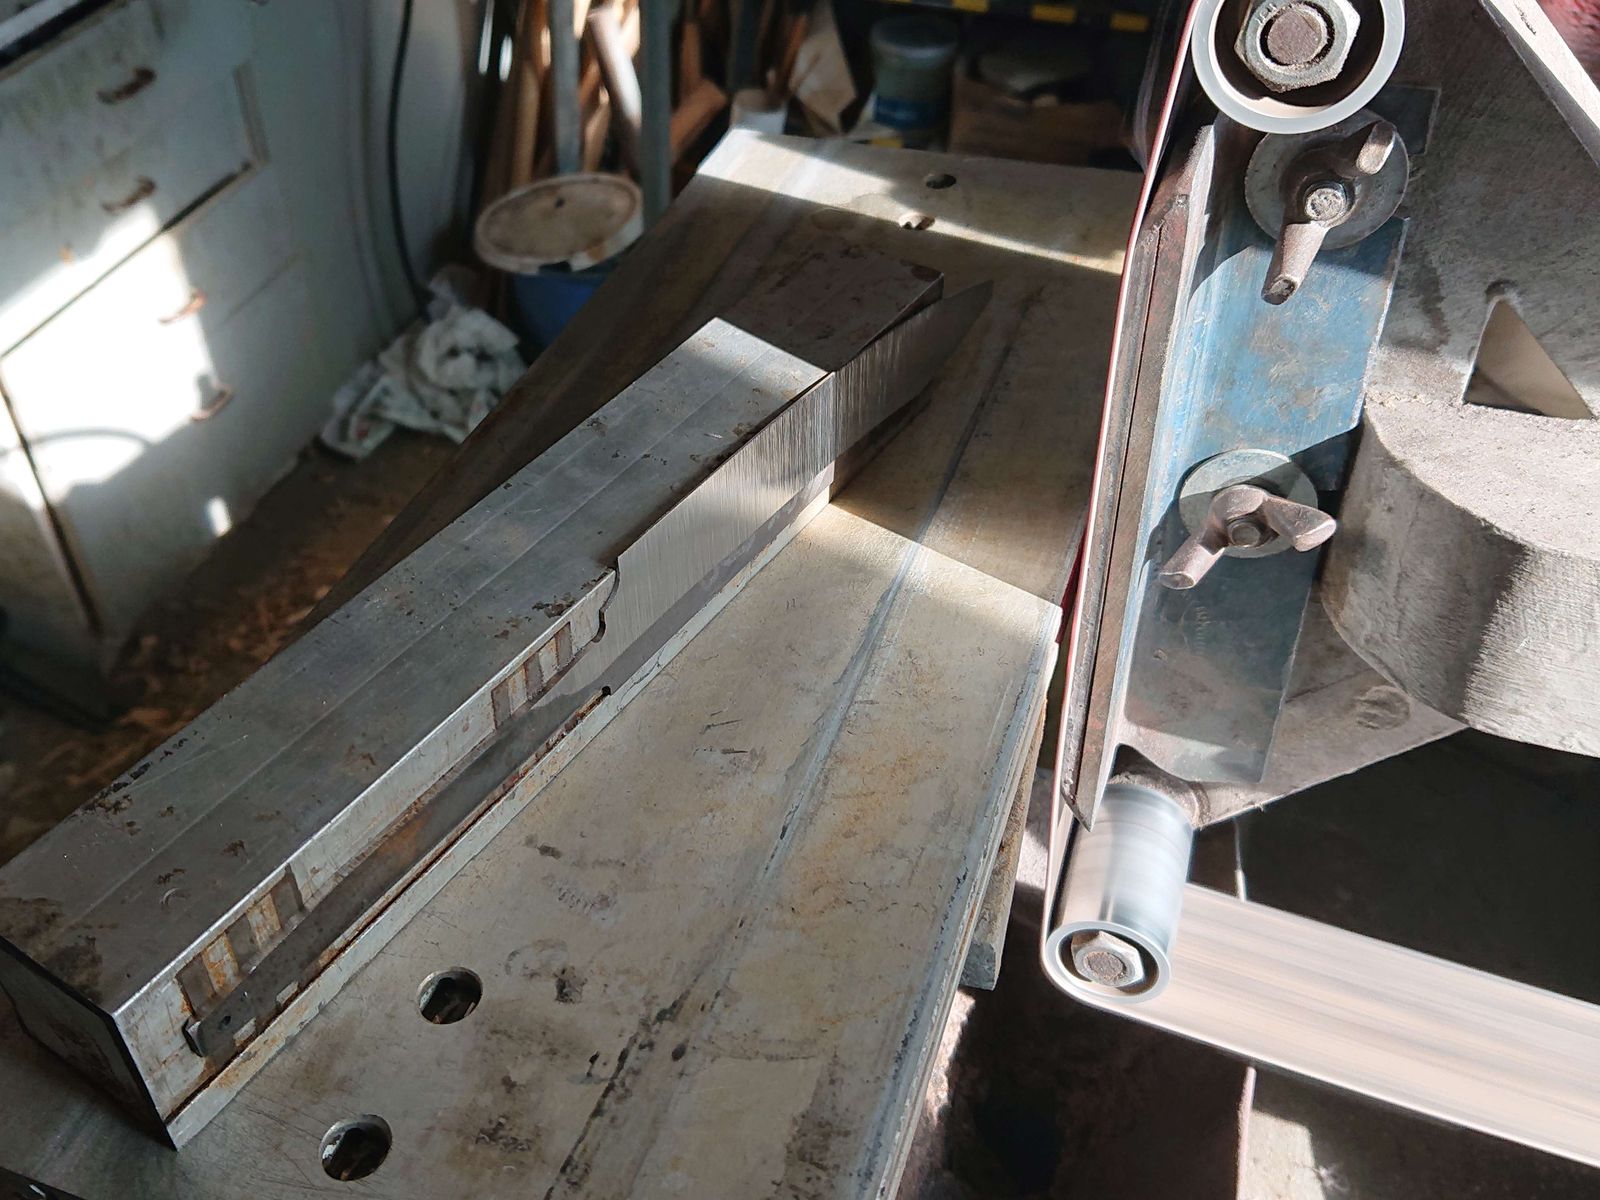
not hard" adage, I have made myself a magnetic chuck to make it
easier. It is a prism with permanent magnets that can be tilted at a
fixed angle with regard to the working table that is at a right angle
to the belt on the belt grinder. The chuck allows to take away
material at a constant angle. To set the correct angle is a bit
fiddly and hit-n-miss, but in this specific case, once the angle is
set, it can be used for all remaining blades since they all have
approximately the same width. And since now it is necessary to take
away a lot of material as quickly as possible, I have used a fresh
ceramics 40 grit belt.

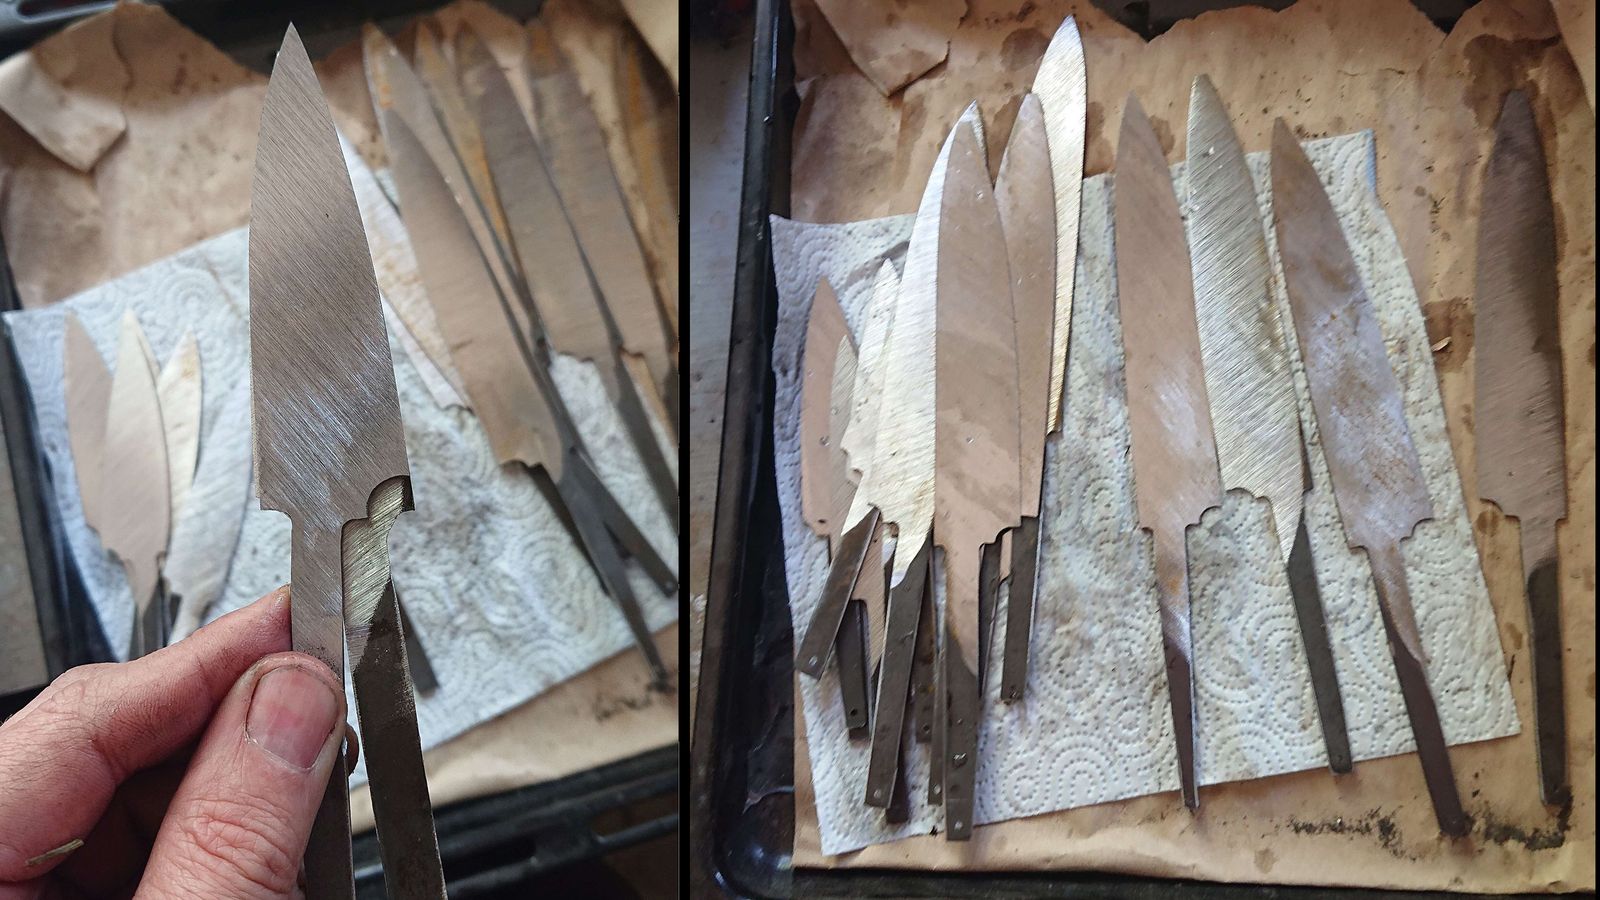
In the previous picture you can now see where I was removing material – and on all blades is still visible black stripe near the back of the blade – the original surface of the flat profile. Thus these blades still do not have a complete wedge profile, and the bevels are not completely flat, especially on the newly established side. Really flat bevels are achieved in the nest step, with finer abrasives – 60 and 80 grit. This time, however, I am not using the chuck and fixed table, I am grinding the bevels free hand and at an angle to the direction of the belt – with 60 grit point up, with 80 grit point down. And I am removing material on both sides until the original black surface of the steel is completely removed. In theory, I could still grind only one side, but I know from the past that there can be pitting and minor defects in the surface of the steel and it is easier to remove them now than later.

Grinding at an angle and changing the angle when going to higher grits facilitates making the bevels really flat. To test the flatness, there is a simple trick – when two wet blades are pushed together, they should "stick". I am demonstrating this on the left side of the picture – I am only holding the tang of one blade in my fingers, the other is held aloft just by adhesion between the blades. At this stage, such flatness is not completely necessary, but it does not hurt. And it was when trying to make this picture that I realized that I have messed up my OOO – Order Of Operations. I forgot to square the blade shoulders.
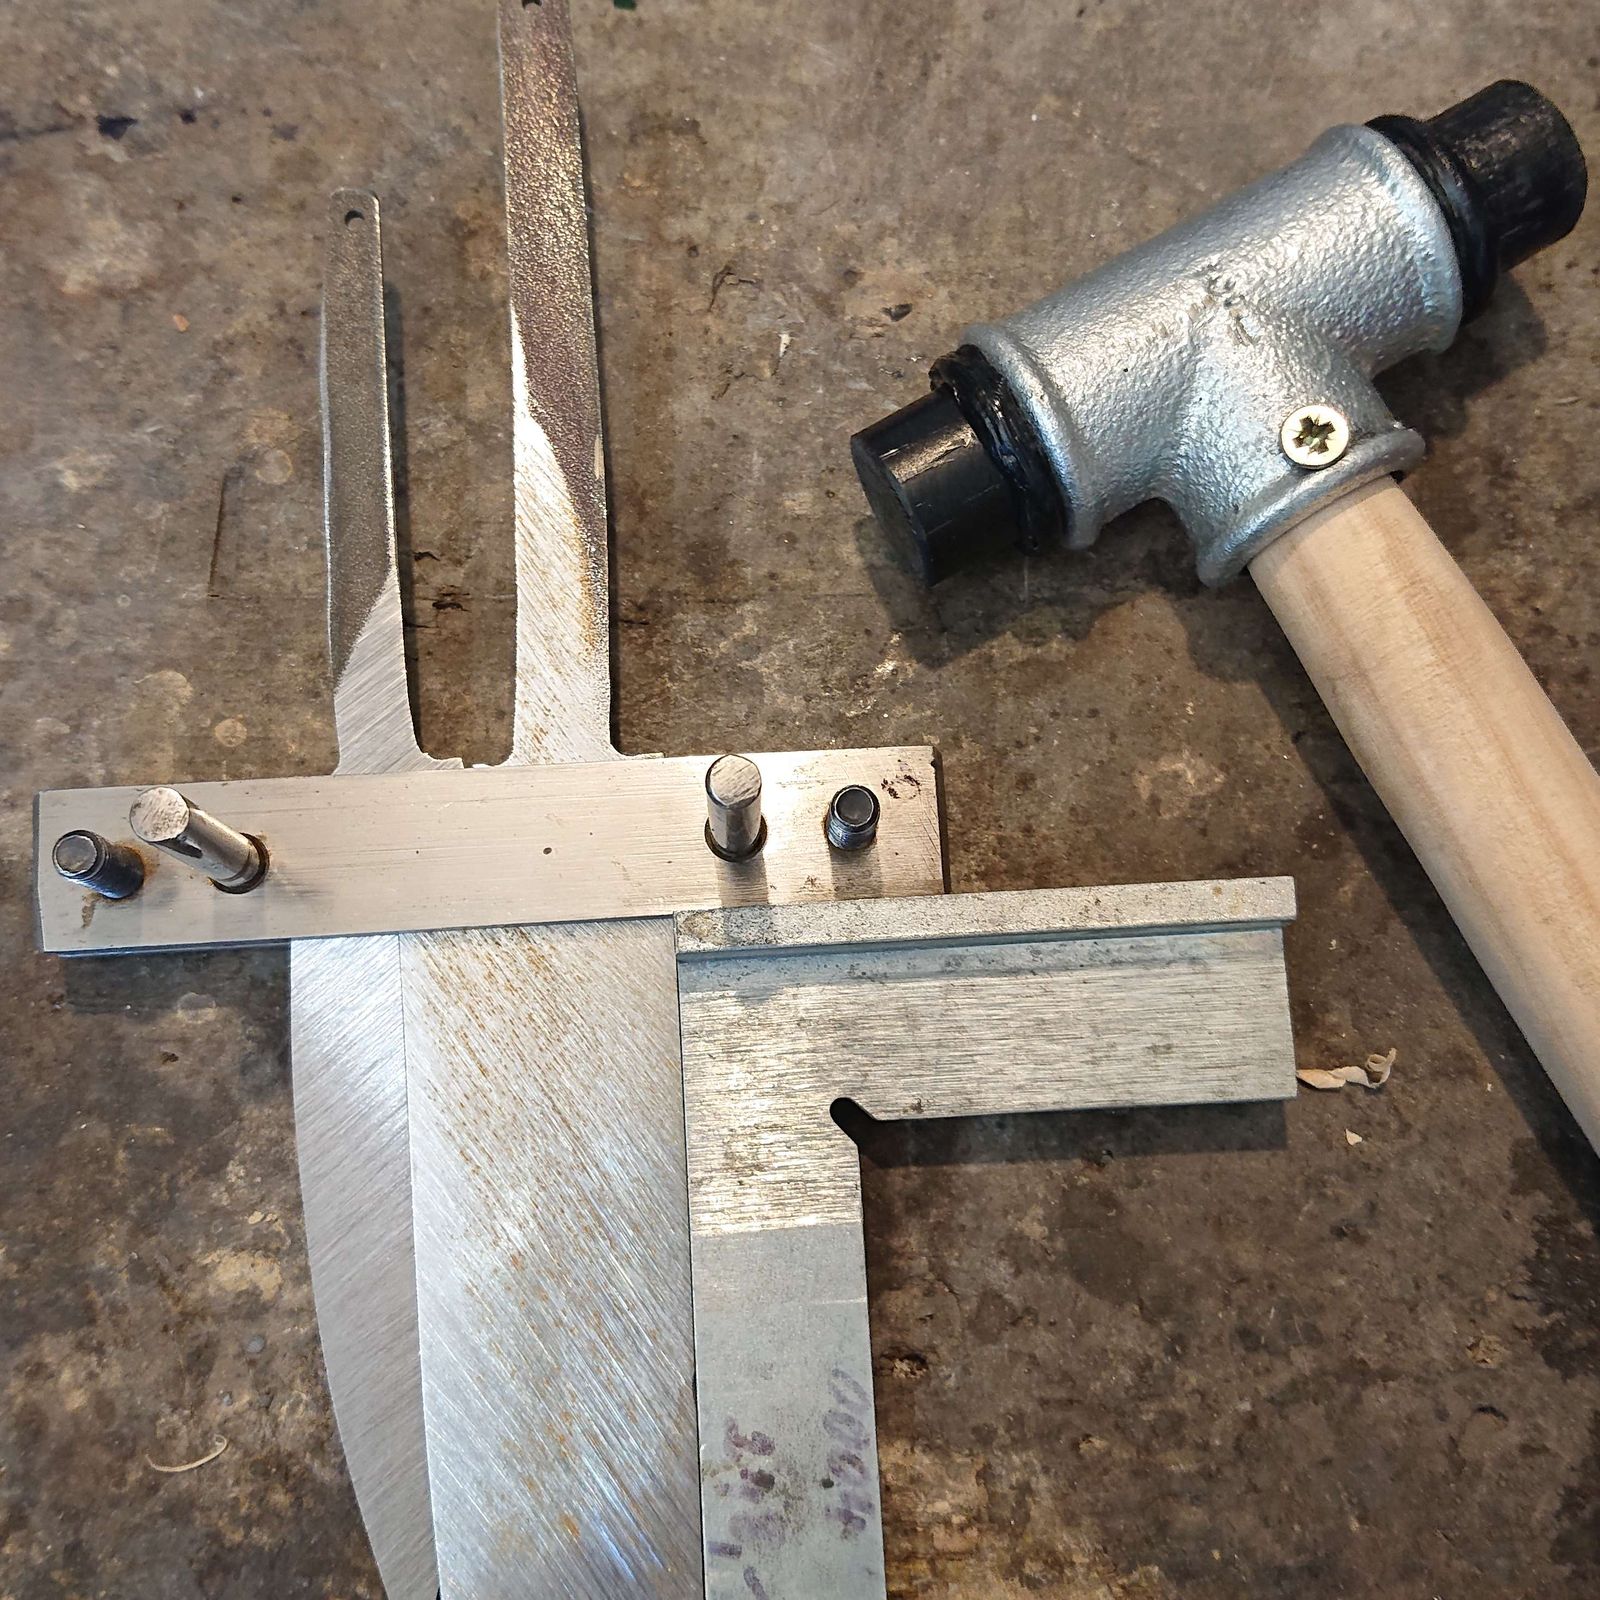
Squaring the blade shoulders means fixing the blade in a file guide and filing both sides of the blade near the tang so they are in line and at a correct angle to the back of the blade (90° in this case). However, file guide has parallel jaws that cannot get a firm grip on a wedge profile. Luckily I was not sleeping in geometry lessons so I was able to solve that problem by clamping two blades in the file guide simultaneously, wedging them against each other to create surfaces parallel enough for the file guide to get a firm enough grip.


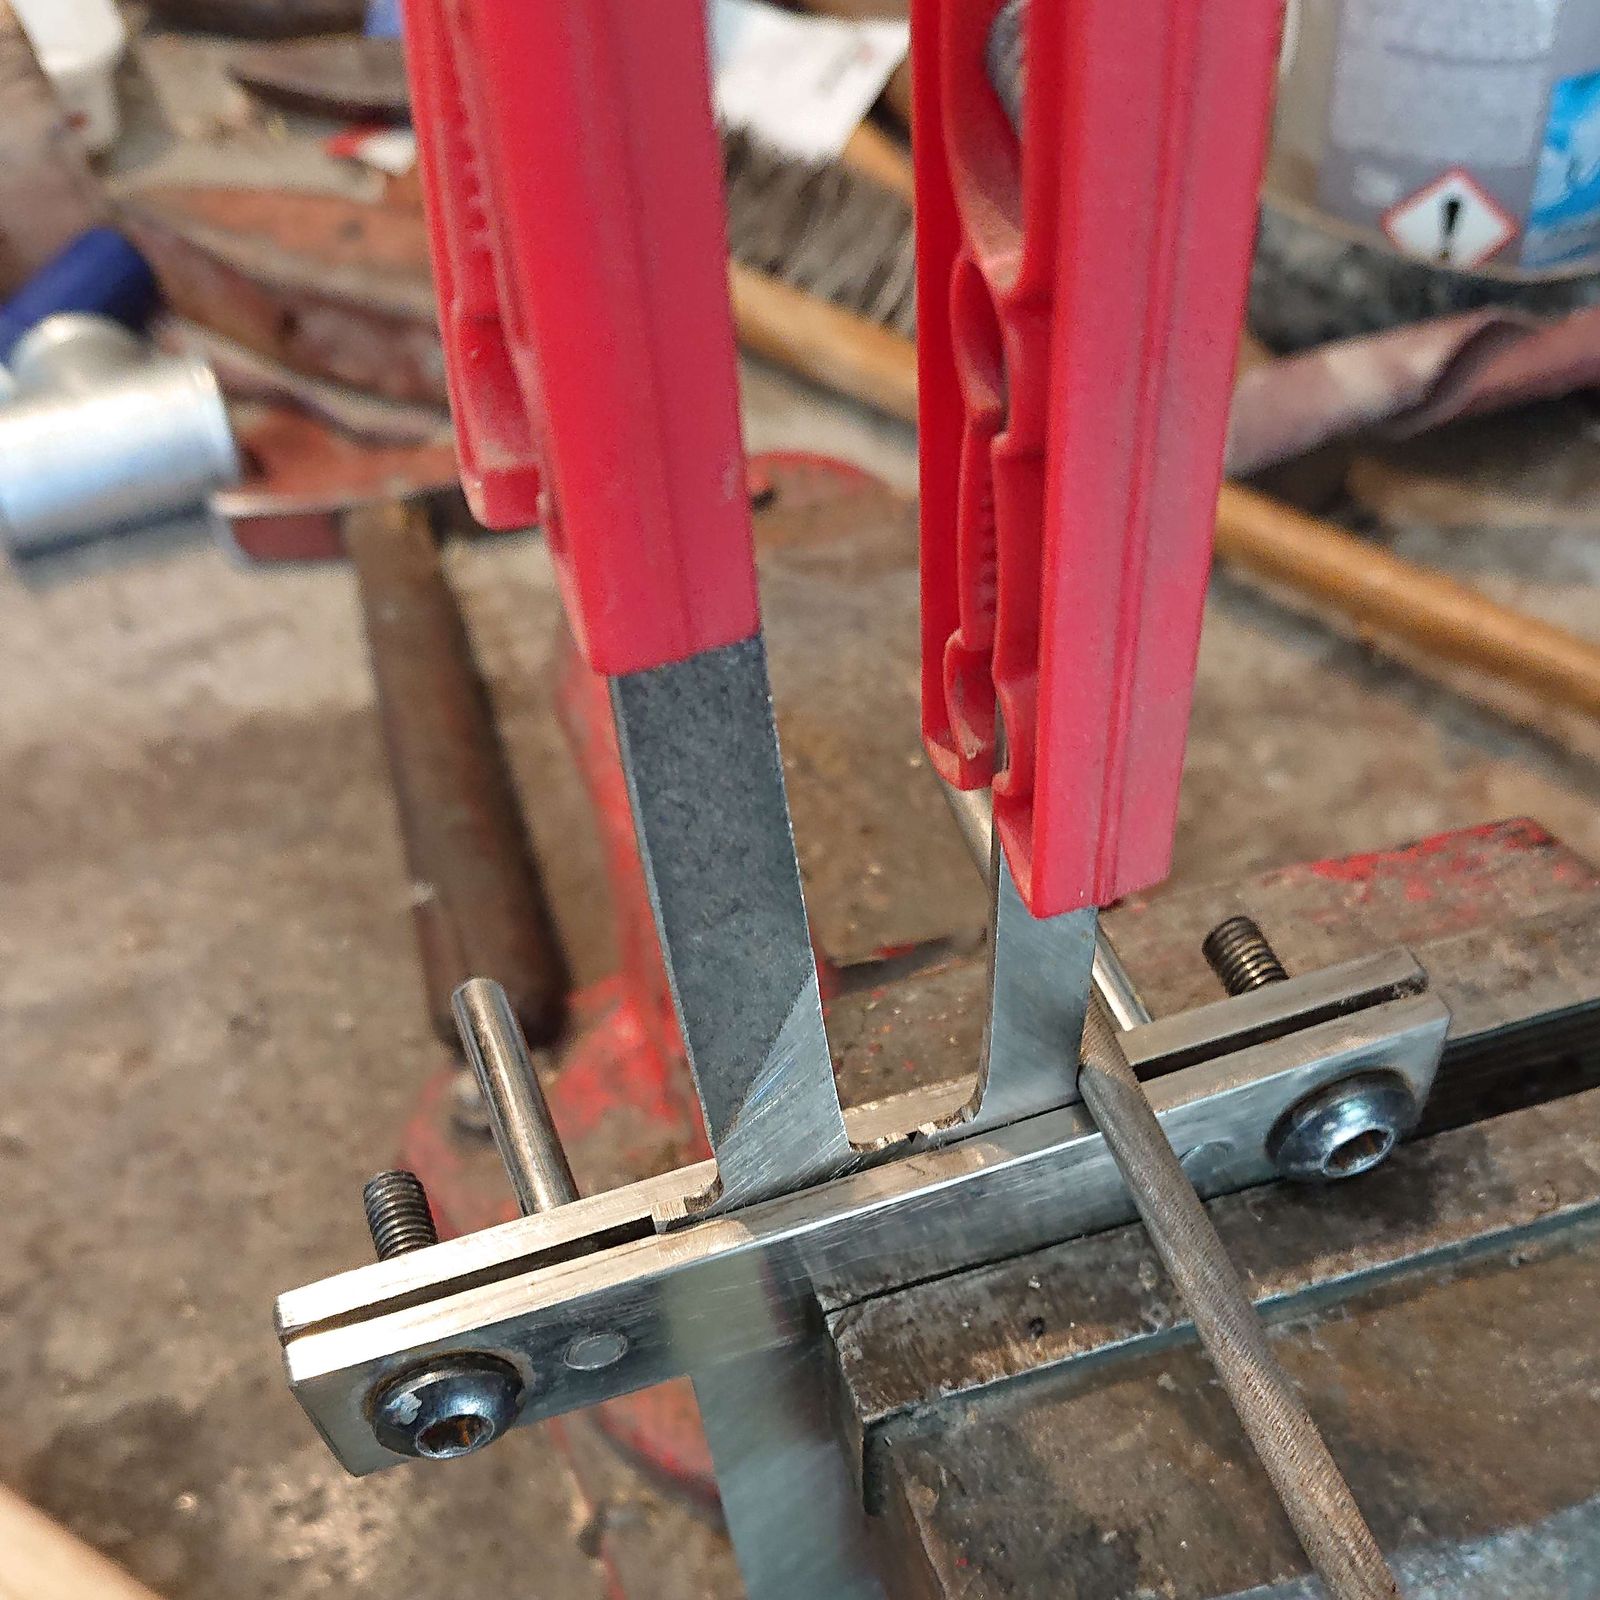
The clothespins fulfill two roles – firstly the tangs are difficult to see under certain angles, they do stick a lot upwards and I do not want o poke myself in the eye or tear a hole in my forearm. Secondly, the tangs are long and thin and emit a very unpleasant sound during filing and the clothespins do dampen the vibrations significantly.
File for sharpening chain saws is used because for good reasons as well. It is cheap, thus it is easy to replace when it inevitably gets blunt by contact with the extremely hard surface of the file guide. And it has a 6 mm radius so the transitions between blades and tangs stay rounded and I cannot accidentally make sharp cuts that would serve as stress concentrators.
With the shoulders squared it is finally possible to proceed to the next manufacturing step – heat treatment.
About that next week.
