Making a Commision - Part 12 - Buffing
This week I could not do much on this project, thus it will be short.
Before stabilization, I sanded all pieces to 320 grit. After stabilization, I had to go back to 120 grit on some surfaces (those that had a lot of holes and cracks filled) and then sand back to 320 again.

Sanding resin-infused wood is unpleasant, and if it is necessary to remove a lot of material, wet sanding is a must. This could be a problem for some pieces, since as mentioned the resin is sometimes just below the surface and it would be possible to sand through and the wood could swell with moisture. So whenever possible, I sand it dry.

After everything is sanded to 320 grit, I coat it with epoxy resin again. I own precise scales, which allow me to mix very small amounts of resin that I apply on the pieces with a piece of cloth – de facto the same way as if applying a drying oil finish.

After each resin coat, the knives and blocks had to cure for two days. When I was satisfied with all surfaces – flat, holes filled, etc. I sanded everything once more, this time going up to 800 grit. That is enough preparation for the final buffing of both wood and horn.

First I buff all pieces with a cloth wheel primed
with polishing paste. I am making my own paste from beeswax, tallow,
olive oil, and amorphous silica powder. Buffing gives the wood a nice
matte surface, not too shiny but still smooth enough for the grain to
pop out.

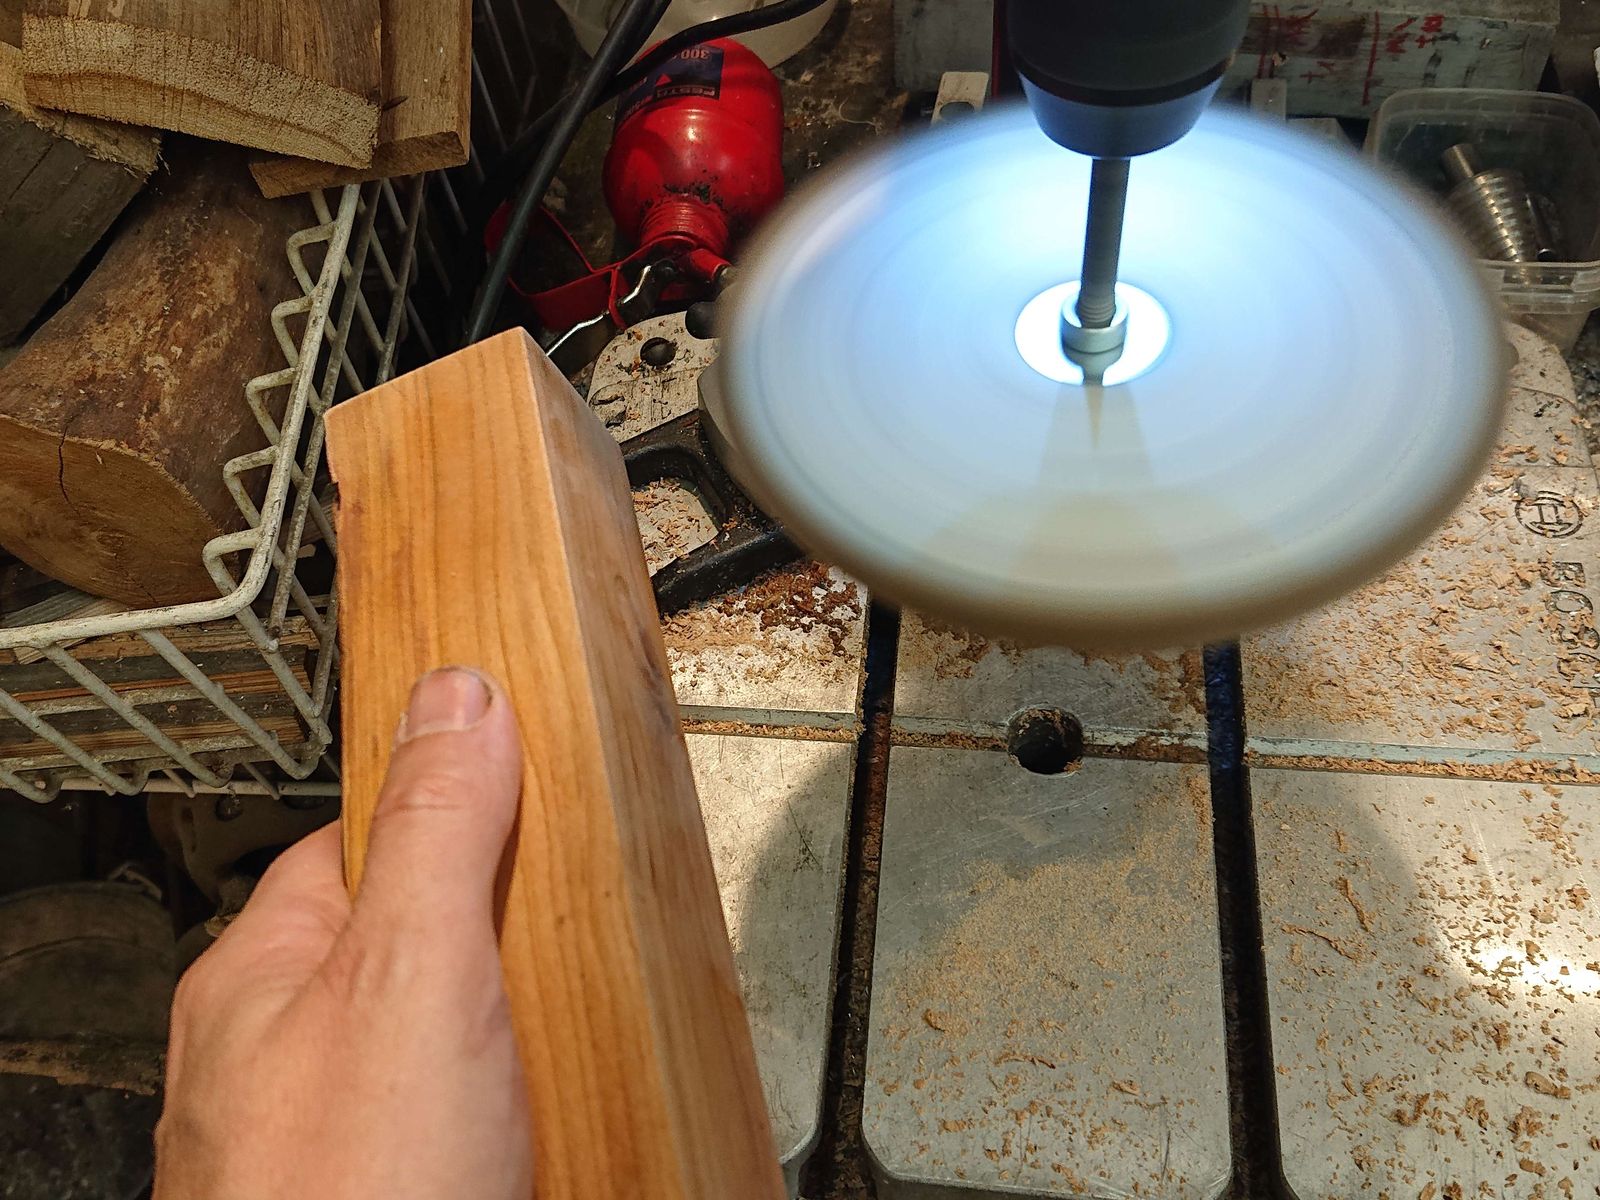
The last step of buffing is brushing with a soft
brush wheel and cleaning all surfaces with a cloth.
By the way, buffing and brushing are some of the most dangerous works. Both the buffing wheel and the brush can grip the worked piece and hurl it with considerable strength. That is why I try not to touch the running wheel when photographing. When doing the actual work, I take care to hold the piece in both hands and I only work on the left side of the wheel. That way at least if something goes wrong, it will fly away from me.
And next week, hopefully, the last step – making of the legs.
