Making a Commision - Part 11 - Stabilizing
Stabilizing the wood with epoxy is one of the final stages and it cannot be rushed because the resin needs to be applied several times and it takes two days for it to cure. And even though the curing time can be reduced to just two hours by heating it up to 60°C, that can only be used by extremely porous woods, i.e. only those that were significantly decomposed by fungi. For healthy wood it cannot be done, they always contain some residual humidity that in the best case makes bubbles, and in the worst case causes warps and cracks.
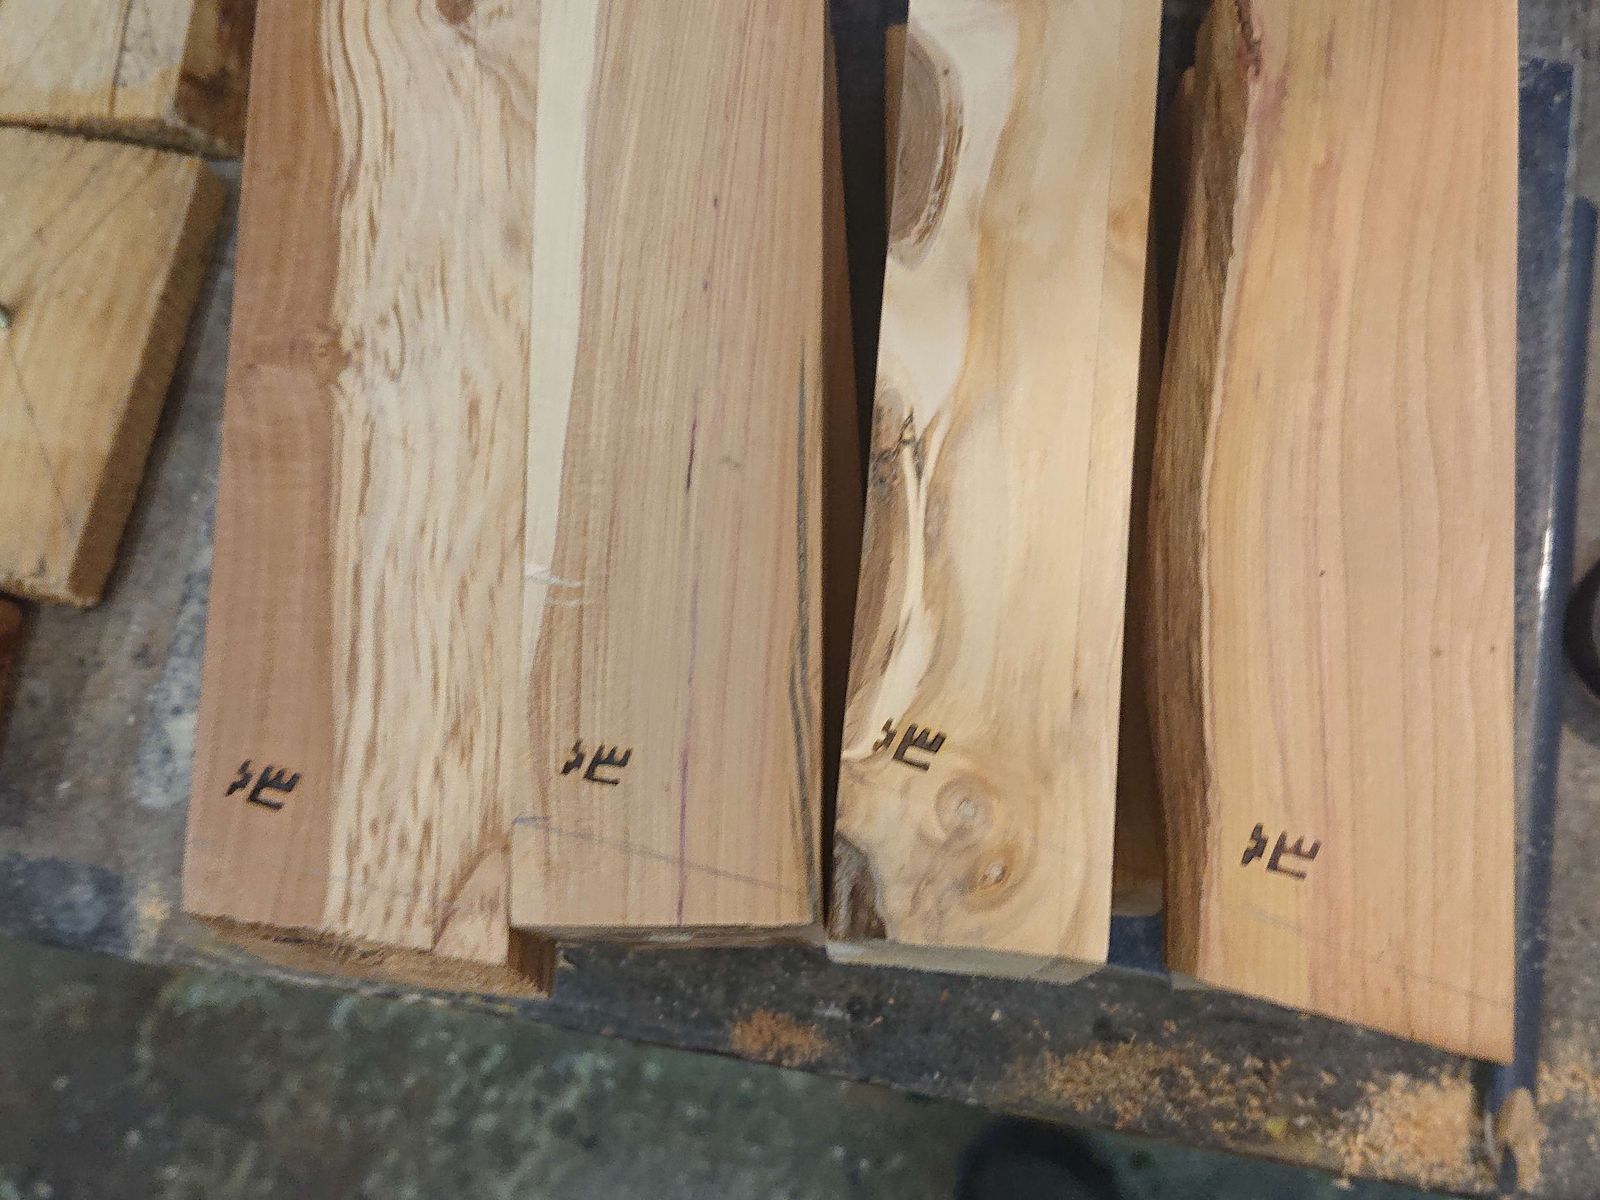
But before applying the resin, the work needs to be signed. To sign wood and leather products I have a stamp with my logo. For leather I simply press it into the wet surface, for wood, I heat it up with a torch and I burn it into the surface.

To prevent the blocks from getting glued to work surfaces, to keep them stable, and to give me something to hold on to, I screwed a board offcut to the bottom of each so that there is an approx 1 cm gap between the board and the block. After that, I can prepare the resin and start infusing the wood.

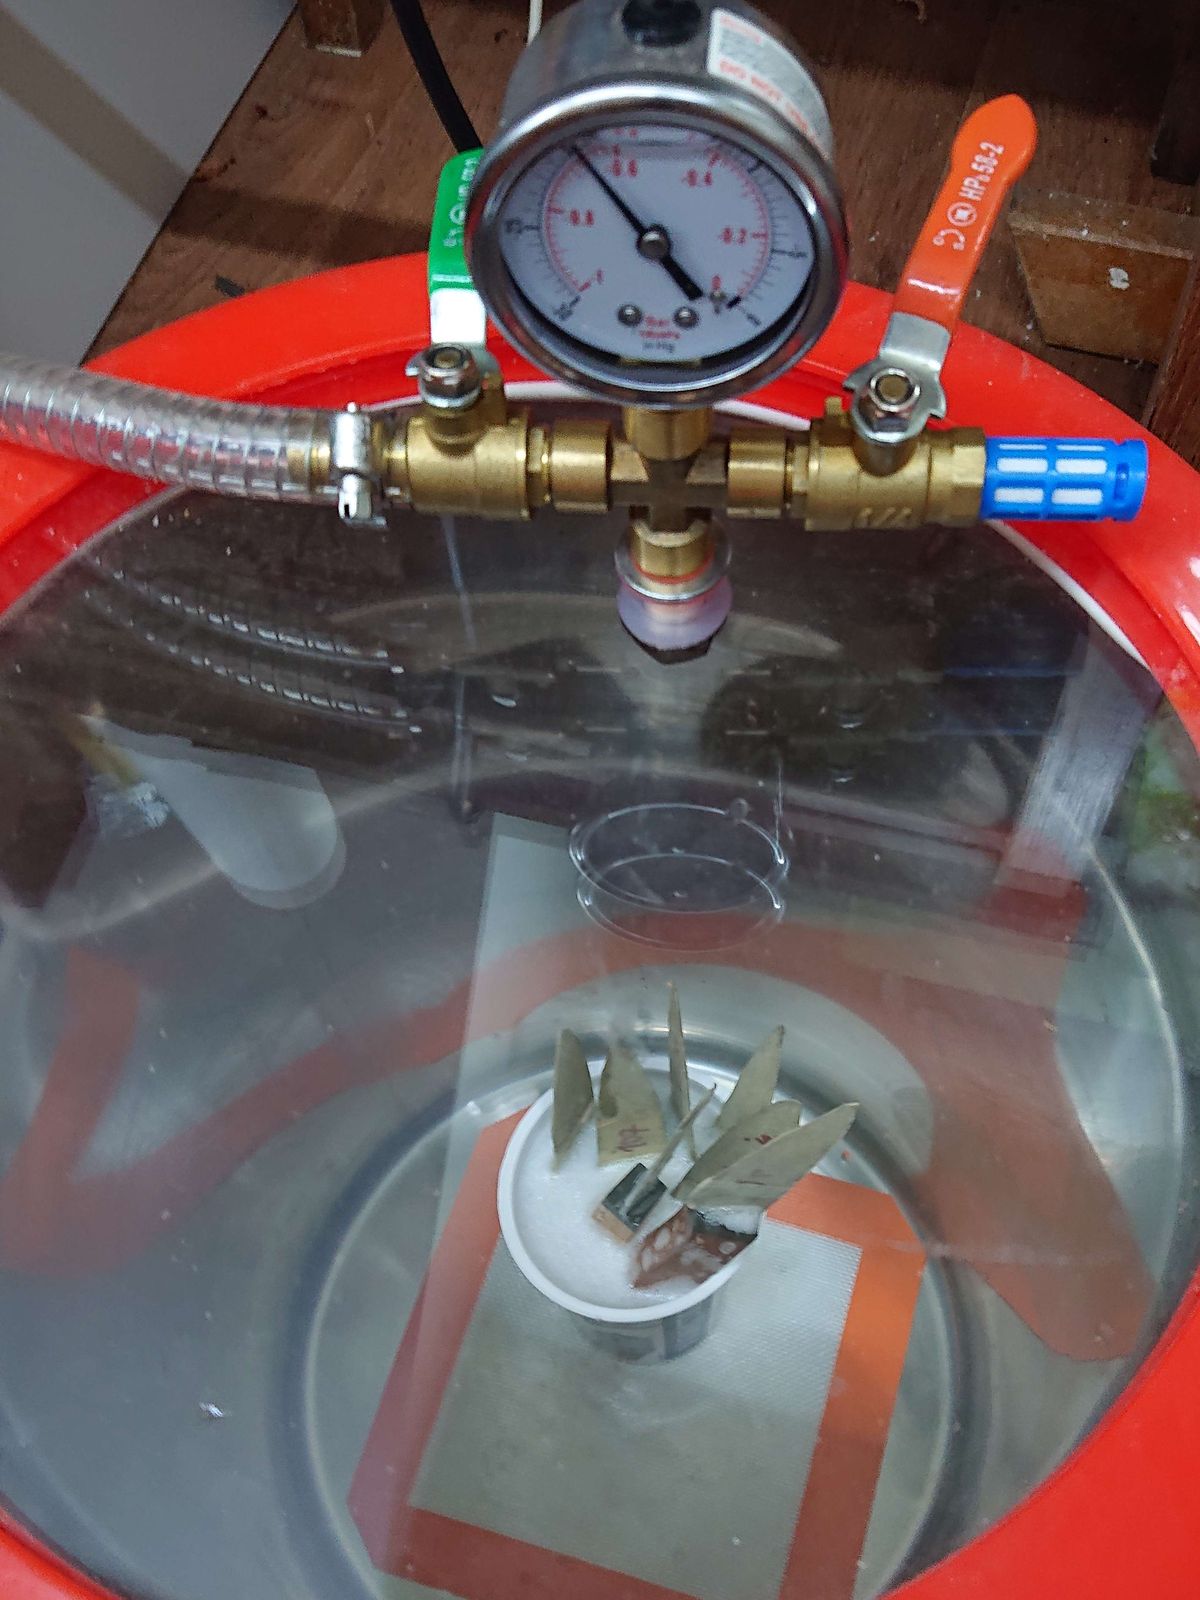
For the handles I could just prepare a little bit of resin in a cup and put in several knife handles so they are fully immersed. After that, I put the cup in a vacuum chamber, evacuate the air to -0,8 bar, leave it to stand for a few minutes and then I let the air back in. I repeat this about three times until almost no bubbles are coming from the handles.

When evacuating air from the vacuum chamber, air bubbles out of the wood. When the air is left back into the chamber, the atmospheric pressure pushes the resin into the pores. For healthy woods, especially woods with small pores and high density, it is not possible to push the resin more than a few mm into the surface, that is why I am stabilizing products when they have their final shape. For woods that are significantly decomposed by fungi, it is sometimes necessary to infuse the wood before work, but although I am working with spalted wood now, it is still structurally sound enough for me to be able to infuse it now. This is good, because stabilized wood is more difficult to work with, and infusing the final shape only uses less resin.
Stabilizing the blocks, unfortunately, did not go smoothly, so I have no pictures – I have spent an hour dealing with an emergency, so I did not think of that. Not to mention that I had to have gloves and I still lack a third hand.
Normally, I would not soak the whole blocks in the resin, I would only infuse the surface, like with lacquer or oil finish. However since two sets are made from partially decomposed wood and one set is willow, It was necessary to immerse them completely. And that turned out to be a problem. I had to prepare a lot of resin and the first two sets took so much time, that when doing the third one the resin overheated, polymerized quicker than it should, bubbled up, and spilled over into the vacuum chamber. This never happened before, there is a first time for everything.
For such cases, I have a bucket full of fine saw dust in my workshop. Partially polymerized resin foam had the consistency of honey and it was extremely tacky but with the sawdust, it was possible to scrape it out of the chamber. And when most of it was out, I could clean the rest with sawdust and denatured alcohol.
After the emergency was dealt with, it was nighttime, so I had to wait to continue. The next day I infused the remaining blocks (without problems) and I was almost done. Almost, because some pieces had cracks and/or wood borer holes. I had to fill those with resin completely, and that took a few days too.
And about what came next I will hopefully write next week.
