Making a Commision - Part 10 - Handles
Assembly and shaping of the handles are works that I tend to procrastinate the most. Probably because at this stage there is a lot of effort sunk into the project already but it is still possible to do an irreparable screw-up that would toss all that work out of the window.
In this case, the biggest problem is that each set is supposed to be visibly made out of one piece of wood, so in case I mess one piece out of three, they all can be tossed (at least the wood, the blades are out of most danger, though not all). That means each piece of wood needs to be properly marked – left side, right side, bolster side, and heel side. Thus thorough marking of the pieces is the start of these works – the left for the smaller knife, the right piece for the bigger knife. And after cutting the shorter one to length, the assembly itself could begin.
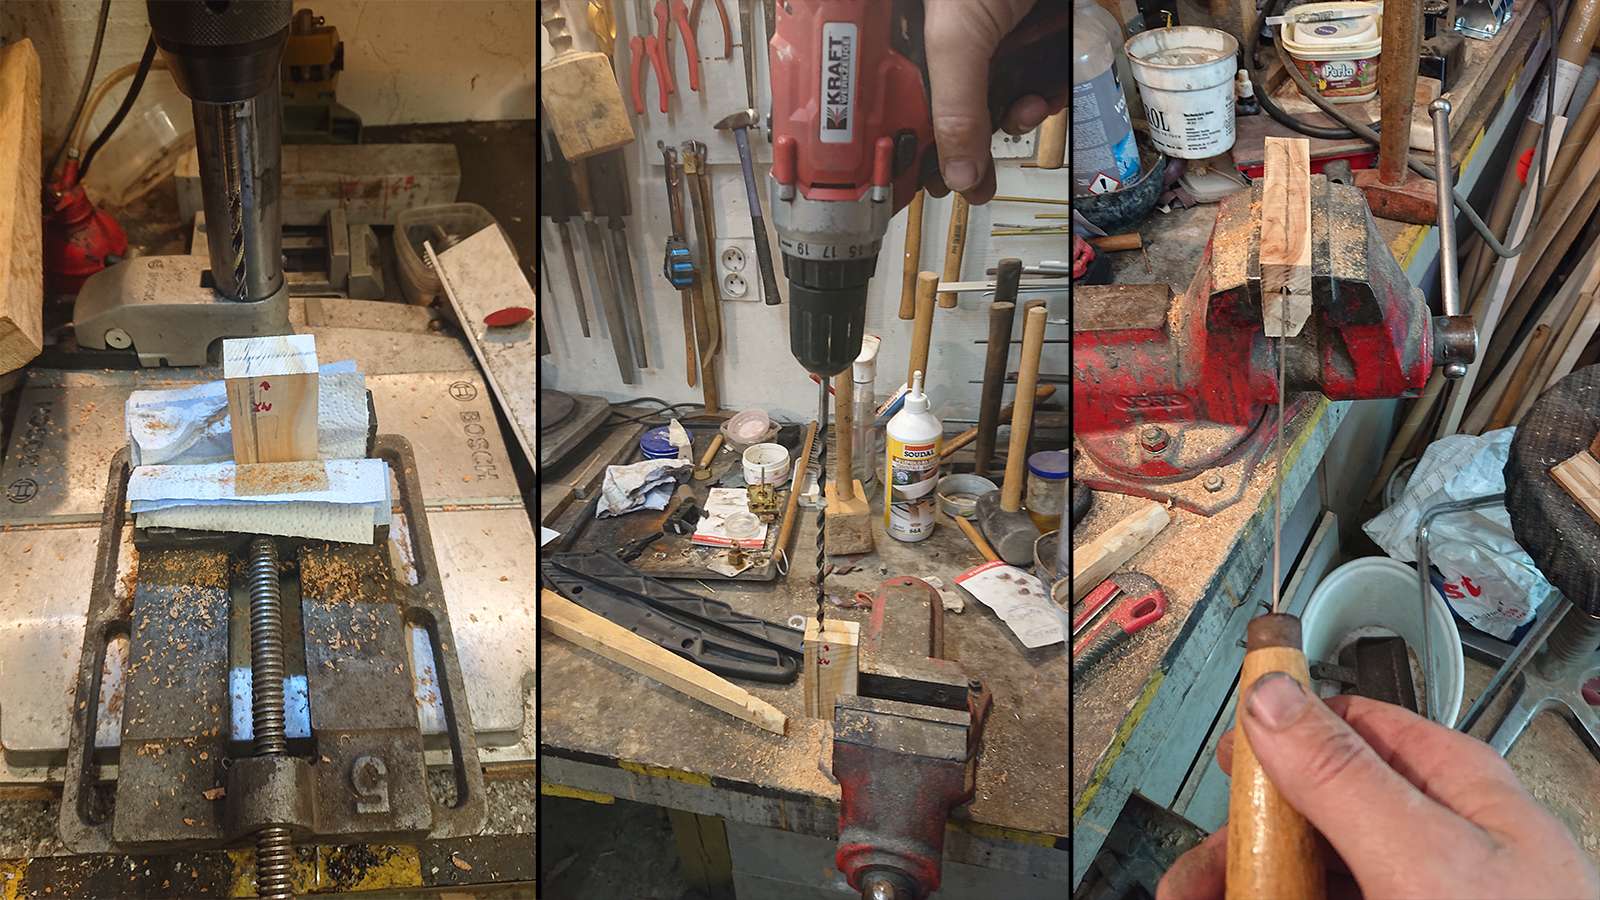
First, I drilled two 5 mm pilot holes from both ends on my bench drill and subsequently, I connected them with a 6 mm drill piece with a hand-held drill and an extra-long drill bit. With a specialized saw, I have then shaped the holes so it is possible to insert the whole tang with the bolster seamlessly fitting the front side of the wood piece and the blade being aligned with its axis.
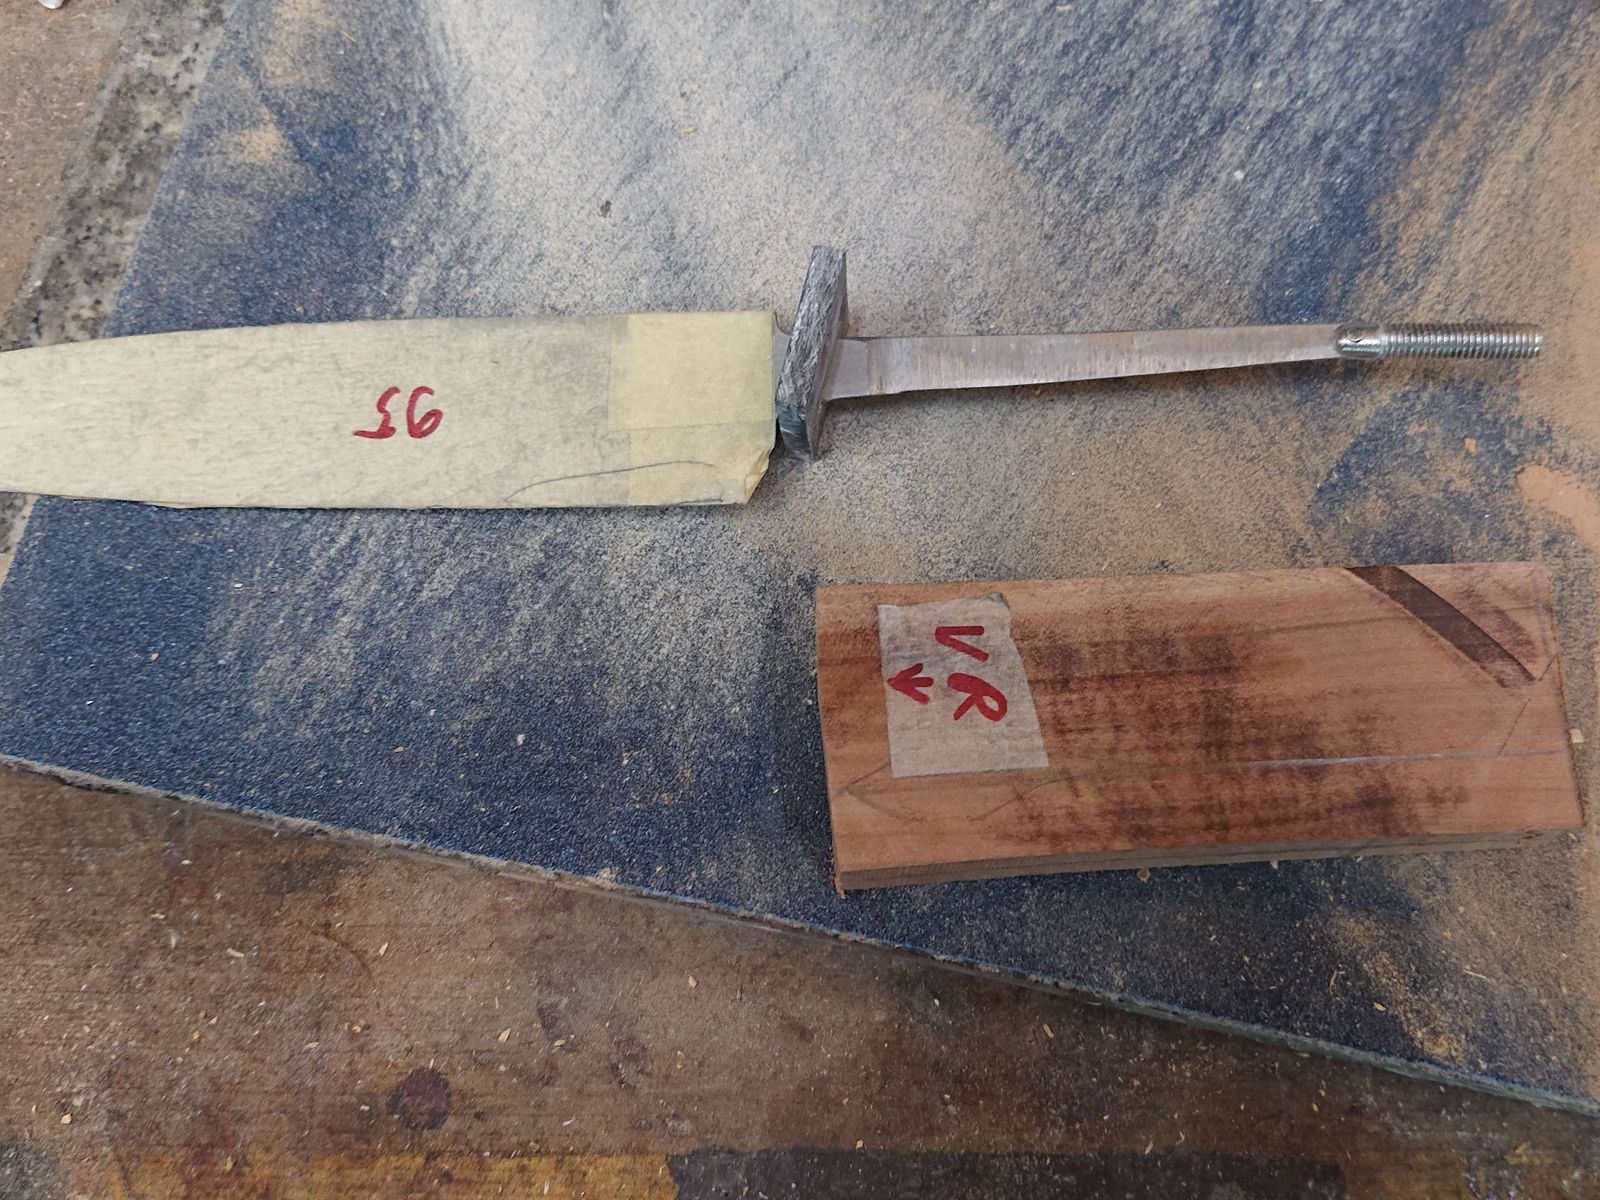
After that, I connected a modified stainless M6 screw to the tang with a peened pin. The screw is not, strictly speaking, necessary. Pressing the tang into a hole filled with epoxy glue suffices for a strong bond. But I only have two fixtures for this type of assembly, these blades are very thin (one cannot apply too much pressure on the tip), and the glue is expensive. Using the screws saves enough time and glue to justify their use.
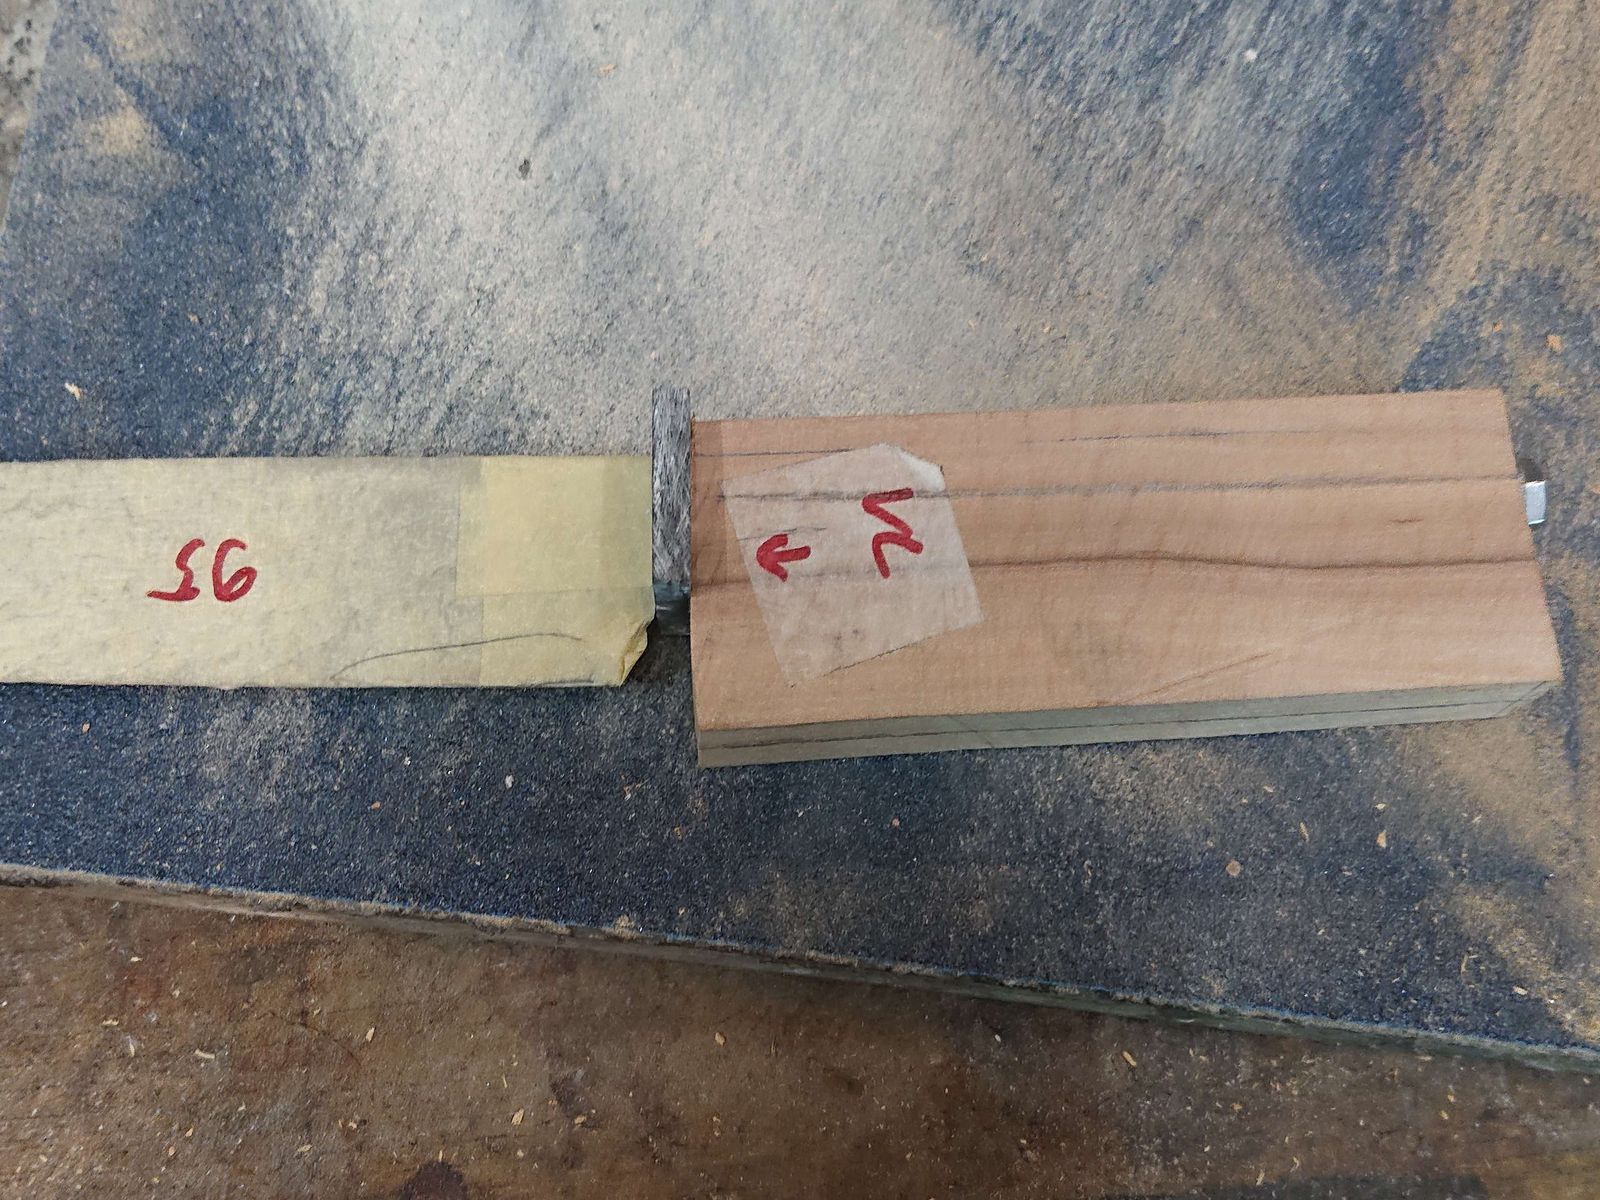
Once everything fits together satisfactorily with a slightly tightened nut on the screw, I prepare epoxy glue, dye it to the same color as the bolster and I glue the bolster to the blade and the handle. I wipe away the glue that gets squeezed between the blade and bolster with denatured alcohol and I leave it all cure until the next day.
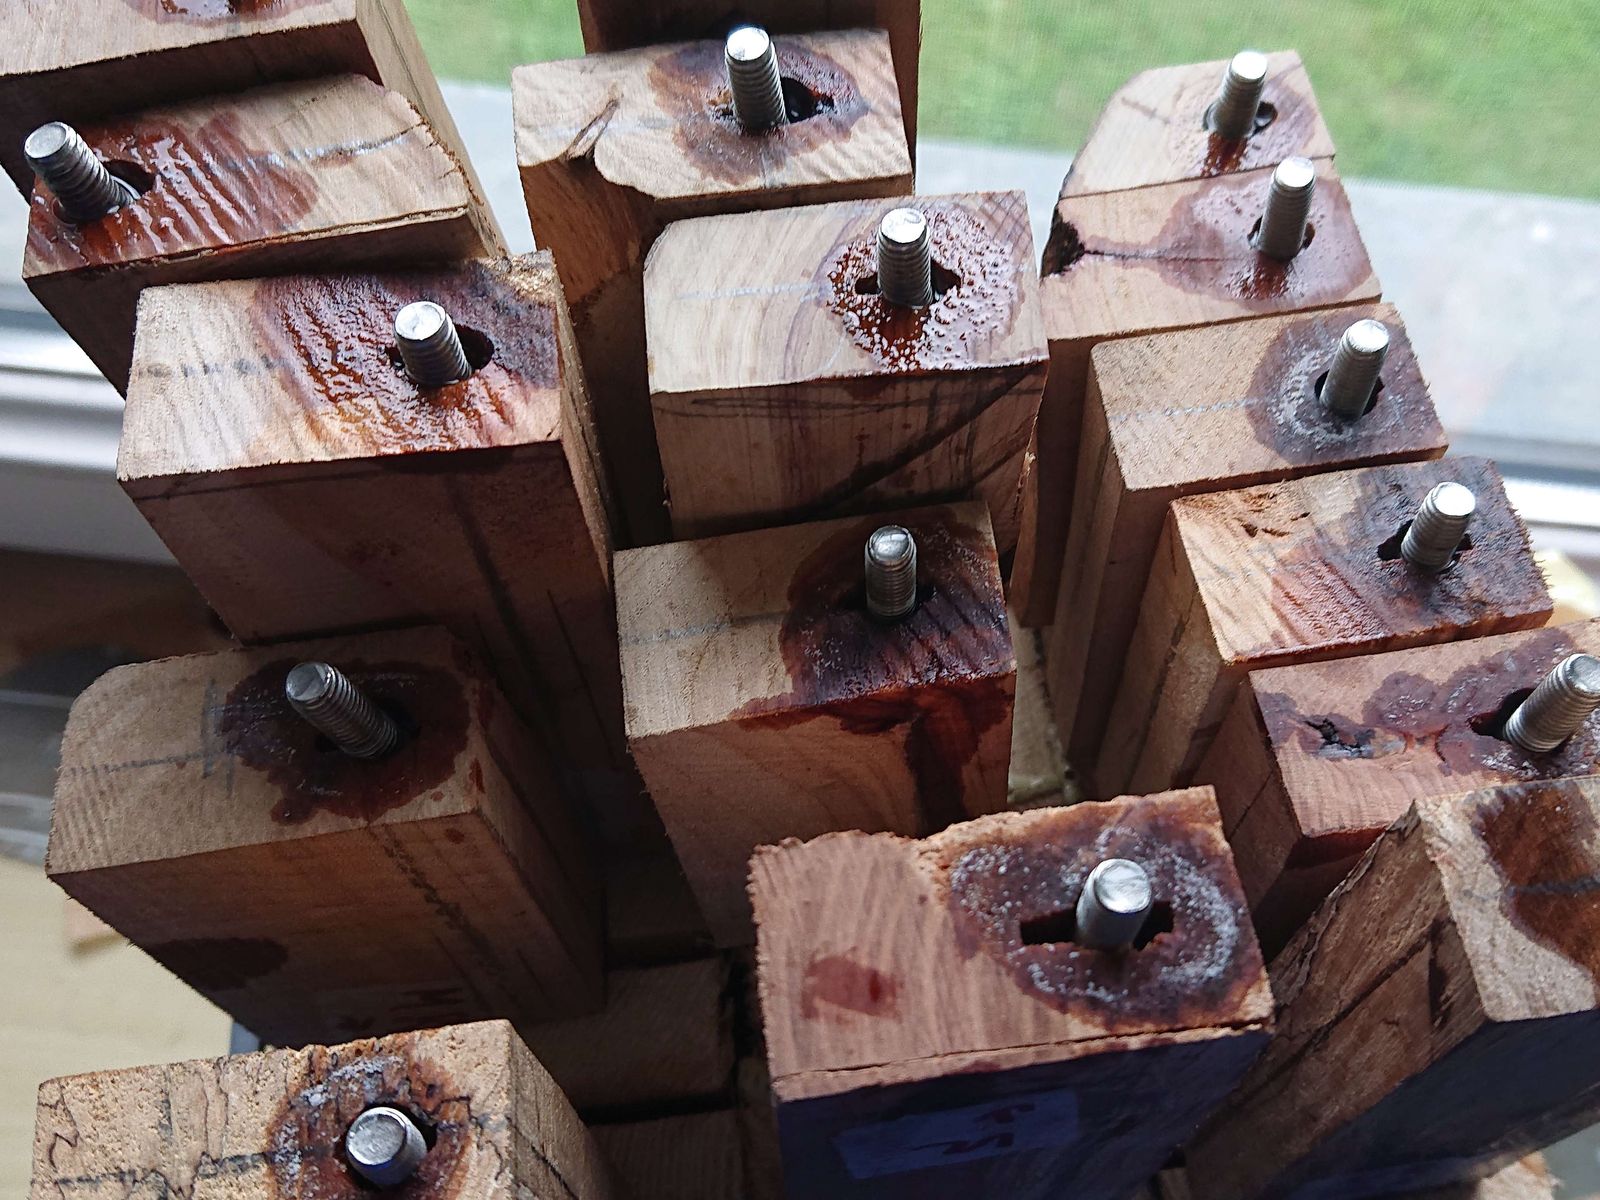
Once bolsters are firmly glued to the wood, I can finish the glue-up. I remove the nut – its whole purpose was to hold it all together until the glue on the bolster cures – and I fill the hole in the handle with low-viscosity epoxy resin using a syringe. This is a much cheaper alternative to glue, plus the resin seeps into the wood and fills all nooks and crannies, guaranteeing a de-facto better bond than glue would.
At this stage almost happened the thing that makes me procrastinate these works – I almost destroyed one set. Despite the markings and constant checking, I have glued one handle back to front. I managed to save it and glue it together properly without the screw (I had to break it off to disassemble it), but for about an hour it looked like I will need to start again with one set.
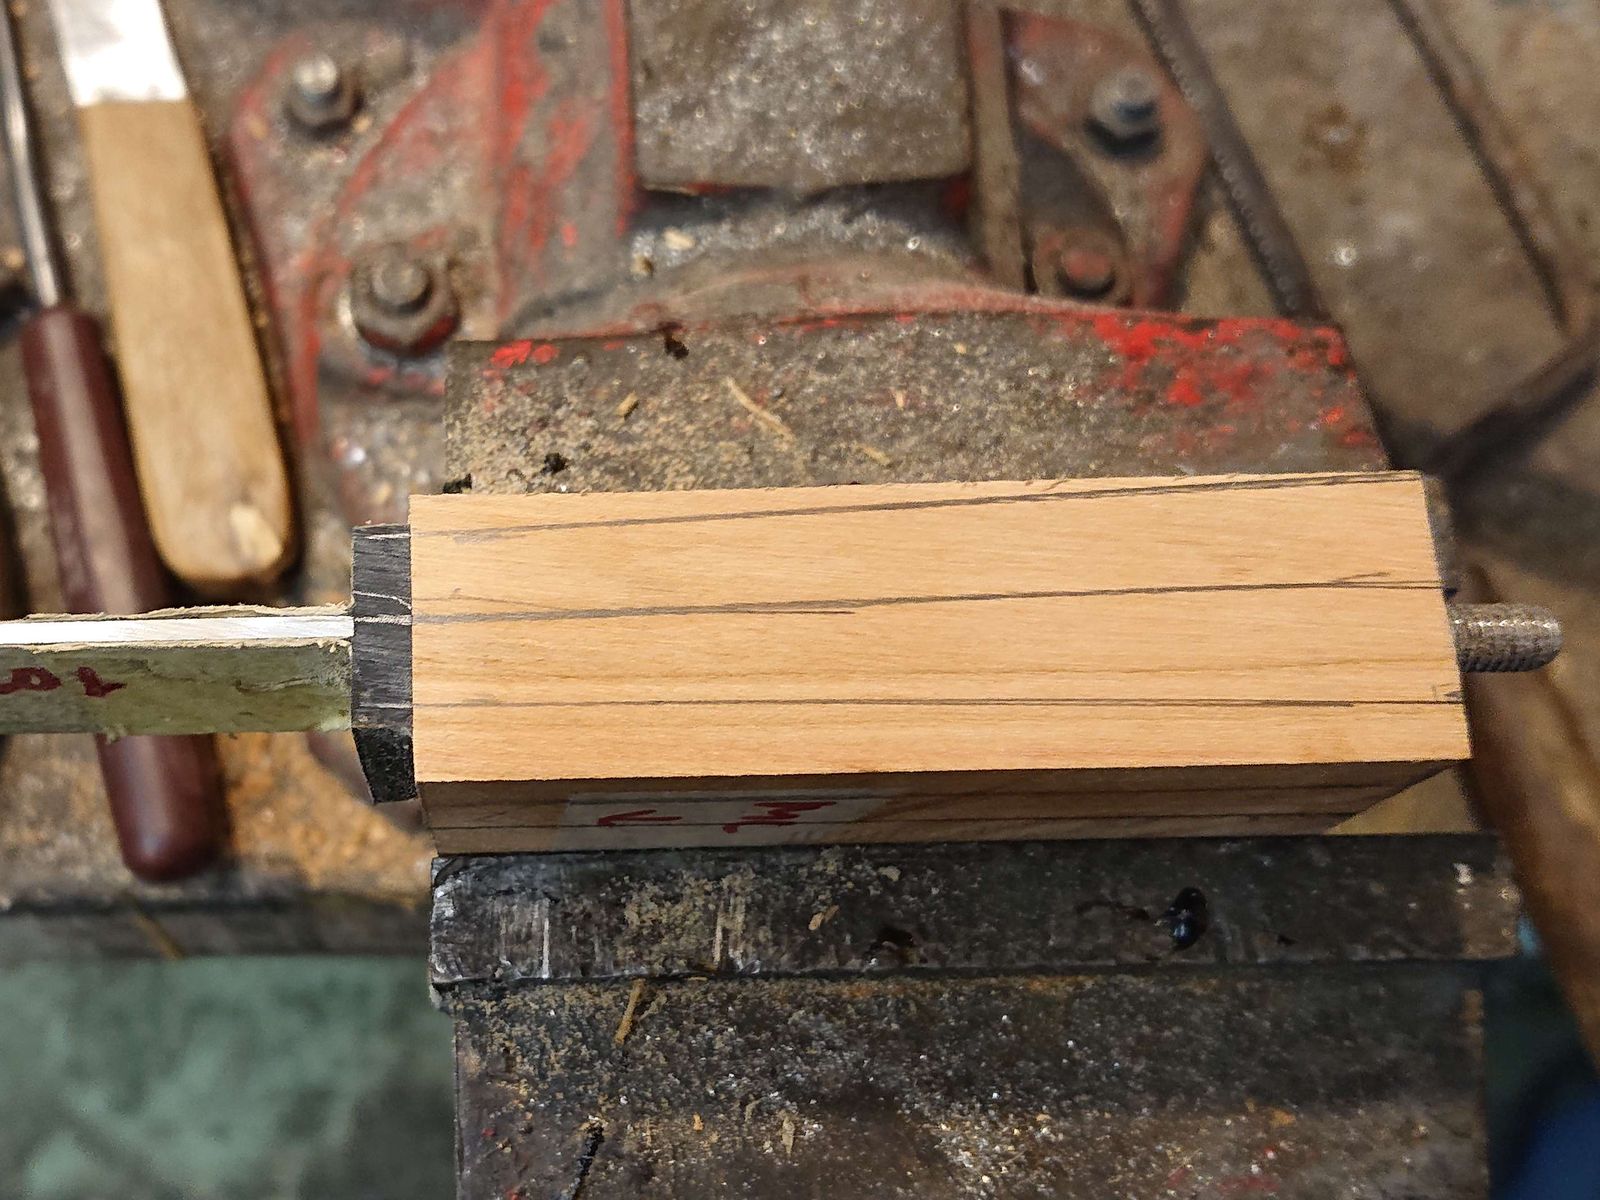
After the epoxy cured I could continue shaping the handles. That started by fixing them in a vice, cutting the excess screw, and drawing a profile on the side and the longitudinal axis and an outline on the back. I cut the excess wood on the belly using the band saw and I shaped the rest on the belt grinder using a corundum belt with 40 grit.
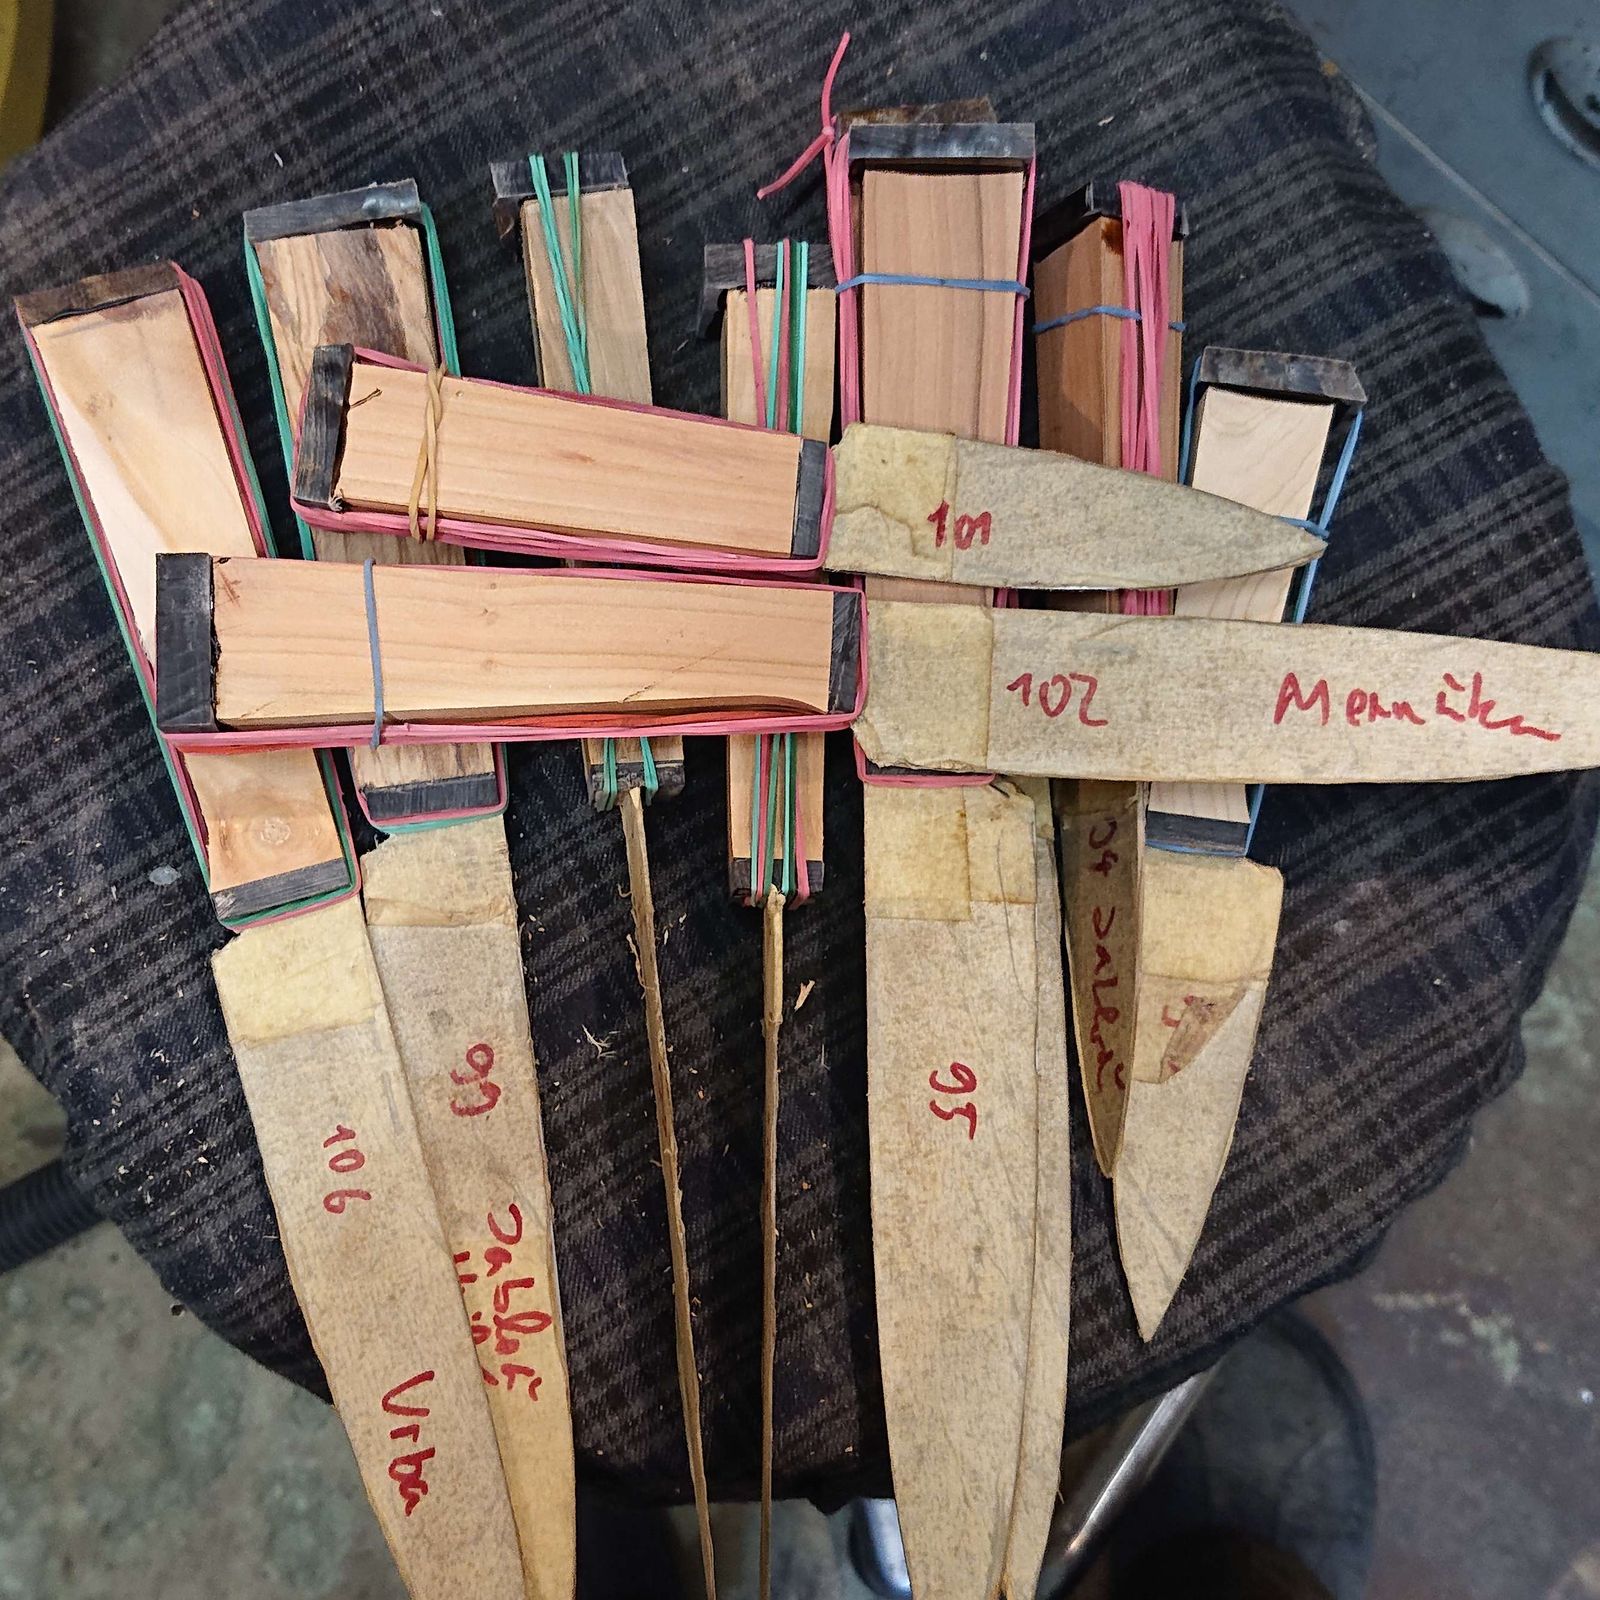
To cover the handle ends I glued on horn end-caps, again using dyed epoxy. This time I used fast-curing glue because otherwise, the end caps could easily wander sideways while the glue cures. After the glue cured I ground off the excess material and the handles were finally shaped. The knives look like knives now.
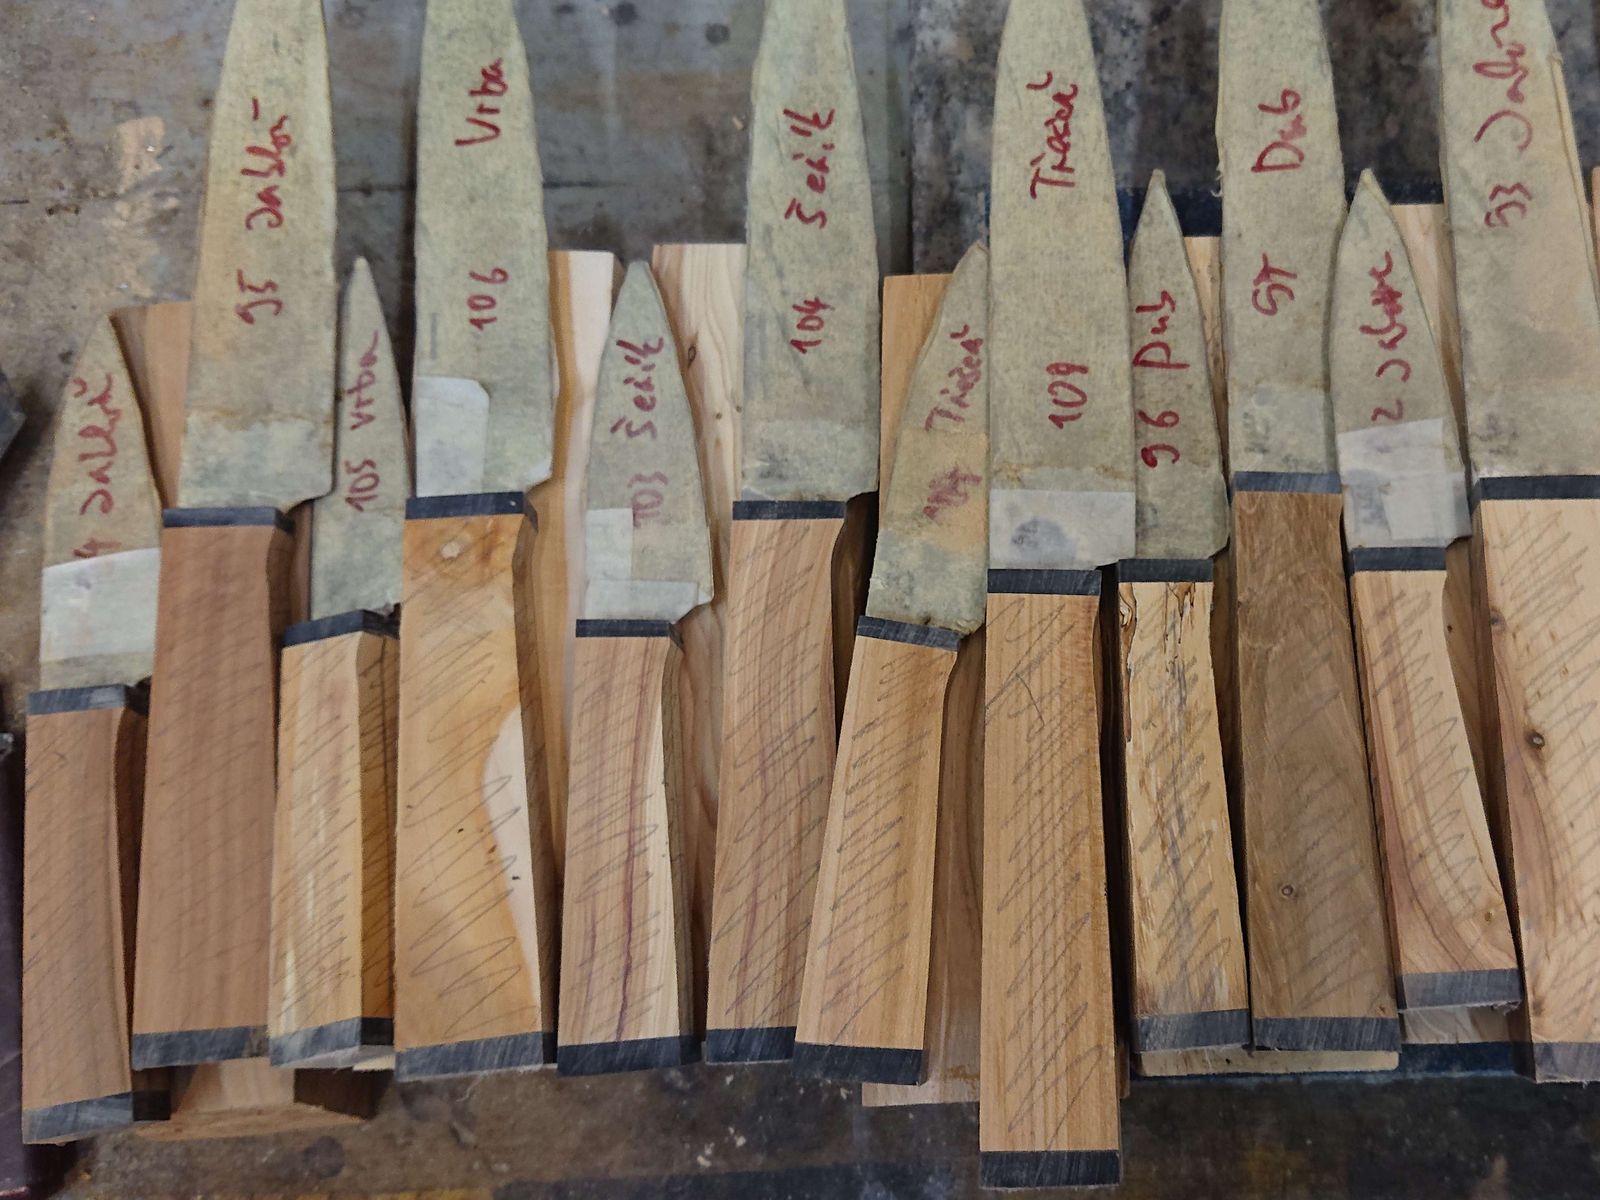
And once the handles and blocks are glued and shaped, again comes work that takes a long time to do but only a short text to describe – sanding all surfaces with finer and finer grit belts and abrasive cloths up to 320 grit. Once all surfaces are shaped and sanded, it is possible to continue to one of the last steps – stabilizing the wood.
And about my fights with the epoxy resin next week.
